If you’re anything like me and love that perfect balance of soft, chewy, and colorful sweets, you’re going to absolutely adore this Red Velvet Cookies Recipe. It’s a delightful twist on the classic red velvet cake, but in cookie form—plus, they come with a fun sugary crunch that really takes these cookies to the next level. Stick with me and I’ll walk you through exactly how to make these beauties right in your own kitchen. Trust me, once you try these, they’ll be your go-to for any occasion!
Why You’ll Love This Recipe
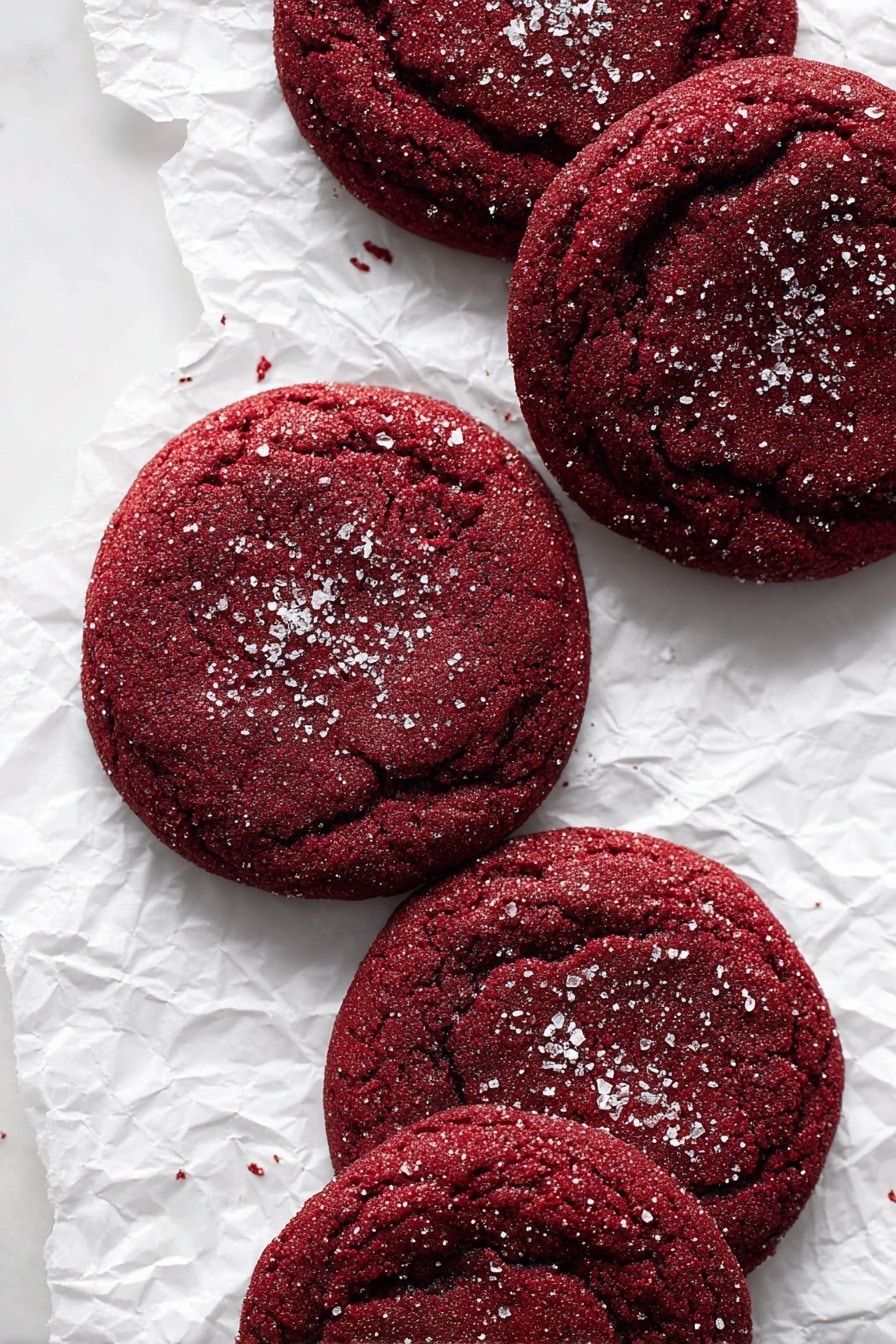
- Beautifully Soft Texture: These cookies stay tender and slightly chewy, giving you that melt-in-your-mouth feeling every time.
- Vibrant Red Color: Thanks to the gel food coloring, these cookies come out with a rich hue that makes them perfect for holidays or special treats.
- Easy Yet Impressive: The process is straightforward, but the results look and taste like you spent hours in the kitchen.
- Fun Sugar Coating: Rolling the cookie dough in homemade red sanding sugar gives a wonderful sparkle and sweet crunch on the outside.

Ingredients You’ll Need
For this Red Velvet Cookies Recipe, I rely on simple pantry staples enhanced with a few special touches. The choice of Dutch-process cocoa is key here—it adds richness without overpowering that classic red velvet flavor you love. Plus, using gel food coloring keeps the color bright without altering the dough’s consistency.

- Unsalted butter: Melting it first creates a slightly fudgy texture that’s so satisfying in cookies.
- Light brown sugar: Adds moisture and a hint of caramel notes that deepen the flavor.
- Granulated sugar: A little for sweetness and to balance the tender brown sugar.
- Large egg: Using it at room temperature helps the dough come together smoothly.
- Vanilla extract: A must for enhancing the overall flavor.
- Red gel food coloring: This is what gives you that vibrant, festive red color without thinning the dough.
- All-purpose flour: The backbone of the cookie, making them sturdy yet soft.
- Cocoa powder: A good-quality Dutch-process cocoa results in that signature red velvet taste.
- Baking soda & baking powder: Ensures your cookies rise just enough and stay fluffy.
- Salt: Balances sweetness and makes flavors pop.
- Red sanding sugar: This homemade version with gel food coloring provides sparkle and crunch.
Variations
I love customizing this Red Velvet Cookies Recipe depending on the season or occasion. Whether you want to add a little extra indulgence or keep it dietary-friendly, there’s room to tweak this recipe to your heart’s content.
- White Chocolate Chips: One time I tossed in a handful of white chocolate chips before baking, and my family went crazy for the sweet pockets that melted inside.
- Vegan Option: I’ve swapped the butter and egg for plant-based alternatives with great success—just be sure to use vegan-friendly gel coloring!
- Spiced Twist: Adding a pinch of cinnamon and a dash of espresso powder gives a subtle depth that’s perfect for winter baking.
- Without Red Sanding Sugar: If you’re short on time, just roll the dough balls in granulated sugar—you’ll still get a lovely sparkle and sweetness.
How to Make Red Velvet Cookies Recipe
Step 1: Melt the Butter and Chill Slightly
Start by melting the unsalted butter over medium-low heat on your stove or in the microwave. Here’s a trick I discovered: pour the melted butter onto a shallow plate and pop it in the freezer for about 5 to 8 minutes. This cools it down just enough so it doesn’t scramble the egg when mixed but stays pourable for easy whisking.
Step 2: Whisk Together Wet Ingredients
Once your butter is cooled but not solid, move it to a mixing bowl and add light brown sugar, granulated sugar, your room temperature egg, vanilla extract, and the red gel food coloring. Whisk until everything is smooth and well combined. You’ll notice the dough already starting to get that gorgeous red shade—which is such a fun moment!
Step 3: Mix Dry Ingredients Separately
In another bowl, whisk together the flour, sifted cocoa powder, baking soda, baking powder, and salt. Mixing these dry ingredients separately is important because it ensures an even rise and prevents clumping once folded into the wet mix.
Step 4: Combine and Fold Gently
Pour your dry ingredients into the wet mixture and use a large spatula to fold everything together gently. My best advice here: don’t overmix. The dough should come together but remain soft and a bit sticky. This helps keep the cookies tender after baking.
Step 5: Prepare Red Sanding Sugar
While you’re preheating the oven to 350°F, you can make the red sanding sugar. Toss granulated sugar and a dollop of red gel food coloring into a plastic bag and shake it up. Then sift to remove any big clumps and spread it on parchment. Bake it at 250°F for 10 minutes until slightly dried—this sugar is magic for coating your cookies with a stunning finish.
Step 6: Shape, Coat, Bake
Using a medium cookie scoop, portion out about 2-ounce dough balls. Roll each in that homemade red sanding sugar to coat completely, then space them out on parchment-lined baking sheets with about 2 to 3 inches between cookies (they puff up!). Bake for 9 to 10 minutes. You’ll notice the edges start to set but centers look a bit puffed and underbaked—that’s exactly how you want it. Resist the urge to overbake, or you’ll lose that soft texture. After baking, you can sprinkle on a little more sanding sugar for extra sparkle.
Pro Tips for Making Red Velvet Cookies Recipe
- Butter Temperature Matters: Cooling melted butter just slightly prevents cooking the egg and keeps your dough smooth.
- Don’t Skip Sifting Cocoa: It avoids clumps and ensures even distribution of flavor and color.
- Watch Bake Time Closely: The cookies finish soft after cooling, so pull them out when edges set but centers are still puffy.
- Chill Your Cookies If Needed: If your dough feels too soft or sticky, a quick chill in the fridge makes rolling easier and helps cookies keep shape.
How to Serve Red Velvet Cookies Recipe

Garnishes
I usually keep it simple with these cookies—just the red sanding sugar does the trick. But for a little extra flair, I sometimes add a drizzle of white chocolate or a sprinkle of edible glitter for parties. It makes them look fancy but doesn’t overwhelm the classic taste.
Side Dishes
These cookies pair wonderfully with a tall glass of cold milk or a warm cup of coffee. For a special treat, I like serving them alongside a scoop of vanilla ice cream or a dollop of whipped cream—it’s like a mini dessert party on your plate.
Creative Ways to Present
For Valentine’s Day or holiday parties, I arrange them stacked with mini heart-shaped toppers or packaged in clear bags tied with red ribbons. It turns a simple cookie into a gift-worthy delight. You could even sandwich a bit of cream cheese frosting between two cookies for an irresistible cookie cake bite!
Make Ahead and Storage
Storing Leftovers
I store my leftover red velvet cookies in an airtight container at room temperature, and they usually stay fresh for up to 5 days. If I want to keep that perfect tenderness, I add a slice of bread in the container—the cookies soak up the moisture and stay soft, which is such a simple but effective trick.
Freezing
I’ve frozen these cookies a bunch of times with great success. Just wrap them tightly in two layers of plastic wrap, place in a freezer-safe bag, and they’ll keep for up to 3 months. When I’m ready to enjoy, I let them thaw at room temperature so they regain their softness beautifully.
Reheating
If I want to refresh frozen or leftover cookies, I pop them in a preheated 300°F oven for 5-8 minutes. This warms them through without drying them out, so you get that just-baked warm, soft texture again—hello, cozy cookie moments!
FAQs
-
Can I use liquid food coloring instead of gel for this Red Velvet Cookies Recipe?
While liquid food coloring might seem like an easy substitution, I recommend using gel food coloring. Gel is more concentrated and won’t thin your dough or affect texture, whereas liquid can make the dough runny and alter the bake’s consistency.
-
Why do these cookies need both baking soda and baking powder?
The combination of baking soda and baking powder ensures that your Red Velvet Cookies rise just right and have that soft, slightly puffed texture. Baking soda helps with browning and tenderness, and baking powder adds a bit of lift for a balanced crumb.
-
Can I make these cookies without the red sanding sugar coating?
Absolutely! If you don’t have red sanding sugar on hand, rolling the cookie dough balls in plain granulated sugar works just fine. You won’t get that sparkling red finish, but the cookies will still taste fantastic and have a nice sweet crust.
-
How do I prevent my Red Velvet Cookies from spreading too much?
Make sure your butter isn’t too warm or melted but just slightly cooled after melting. Also, chilling your dough for 15-20 minutes before baking helps the cookies hold their shape and keeps them from spreading excessively.
Final Thoughts
I absolutely love how this Red Velvet Cookies Recipe brings that nostalgic cake flavor into a fun, portable cookie form. When I share these with friends and family, the compliments pour in—and it feels so good to offer something both pretty and delicious with ease. If you’re ready to bake cookies that’ll impress and satisfy, grab your ingredients and give this recipe a try. I’m confident it’ll become one of your favorites, too!
Print
Red Velvet Cookies Recipe
- Prep Time: 15 minutes
- Cook Time: 10 minutes
- Total Time: 25 minutes
- Yield: 12 cookies 1x
- Category: Dessert
- Method: Baking
- Cuisine: American
Description
Delight in these festive Red Velvet Cookies featuring a tender, slightly fudgy crumb with classic cocoa undertones, enriched by vibrant red gel food coloring and finished with a sparkling coating of homemade red sanding sugar. Perfectly soft and slightly underbaked in the center for the ideal texture, this recipe offers an irresistible twist on the beloved red velvet flavor in cookie form.
Ingredients
For Cookies
- 1/2 cup (113 g) unsalted butter
- 1/2 cup plus 1 tablespoon (110 g) light brown sugar
- 1/4 cup (50 g) granulated sugar
- 1 large egg, room temperature
- 1 1/2 teaspoons vanilla extract
- 1 1/2 teaspoons red gel food coloring
- 1 1/4 cups (160 g) all-purpose flour
- 2 tablespoons cocoa powder, sifted (Dutch-process or Hershey’s Special Dark recommended)
- 1/2 teaspoon baking soda
- 1/2 teaspoon baking powder
- 1/2 teaspoon salt
- 1/2 cup red sanding sugar (for rolling)
For Red Sanding Sugar
- 1/4 cup (50 g) granulated or coarse sugar
- Dollop of red gel food coloring (do not use liquid food coloring)
Instructions
- Melt the Butter: In a small saucepan over medium-low heat, melt the unsalted butter completely, or alternatively melt it in the microwave. Pour the melted butter onto a shallow bowl or plate and place it in the freezer for 5 to 8 minutes until slightly cooled but not solidified.
- Combine Wet Ingredients: Transfer the cooled butter into a medium mixing bowl. Add the light brown sugar, granulated sugar, room temperature egg, vanilla extract, and red gel food coloring. Whisk thoroughly until the mixture is smooth and well combined.
- Mix Dry Ingredients: In a separate bowl, sift together the all-purpose flour, cocoa powder, baking soda, baking powder, and salt. Ensure uniform mixing of the dry ingredients.
- Form the Dough: Add the dry ingredients to the wet mixture and gently fold with a large spatula just until combined. Avoid overmixing to maintain tender cookie texture.
- Preheat and Prepare Baking Sheets: While the dough rests, preheat your oven to 350°F (175°C). Line two baking sheets with parchment paper to prevent sticking.
- Shape and Coat Cookies: Using a medium cookie scoop, portion the dough into approximately 2-ounce balls. Roll each ball evenly in the prepared red sanding sugar, then place on the prepared baking sheets, spacing them 2 to 3 inches apart to allow for spreading.
- Bake the Cookies: Bake the cookies for 9 to 10 minutes, until the edges are set but the centers remain slightly puffed and underbaked. This ensures the ideal soft, chewy texture. Remove from the oven and optionally sprinkle with additional red sanding sugar. Cookies will gently deflate as they cool.
- Prepare Red Sanding Sugar: Before baking, preheat the oven to 250°F (120°C) and line a large baking sheet with parchment paper. Combine 1/4 cup granulated or coarse sugar with a dollop of red gel food coloring in a large plastic bag. Shake and massage the bag until the sugar is evenly colored.
- Refine and Bake Sugar: Sift the colored sugar through a fine mesh strainer into a bowl to remove clumps, repeating several times until uniform. Spread the sifted sugar evenly on the prepared baking sheet and bake for 10 minutes. Remove and cool completely—at least 15 minutes—before using to coat the cookie dough balls.
Notes
- Store cookies in an airtight container at room temperature for up to 5 days to maintain freshness.
- For longer storage, freeze cookies up to 3 months tightly wrapped in two layers of plastic wrap inside a large resealable freezer bag. Thaw at room temperature or warm in a 300°F (150°C) oven for 5 to 8 minutes before serving.
- Do not overbake cookies; centers should remain slightly underbaked for a soft texture.
- Use gel food coloring instead of liquid to avoid altering dough consistency.
- The red sanding sugar adds both a decorative sparkle and a slight crunch to the cookies’ exterior.
Nutrition
- Serving Size: 1 cookie (approx. 42 g)
- Calories: 180
- Sugar: 15 g
- Sodium: 140 mg
- Fat: 8 g
- Saturated Fat: 5 g
- Unsaturated Fat: 2.5 g
- Trans Fat: 0 g
- Carbohydrates: 25 g
- Fiber: 1 g
- Protein: 2 g
- Cholesterol: 35 mg

Your email address will not be published. Required fields are marked *