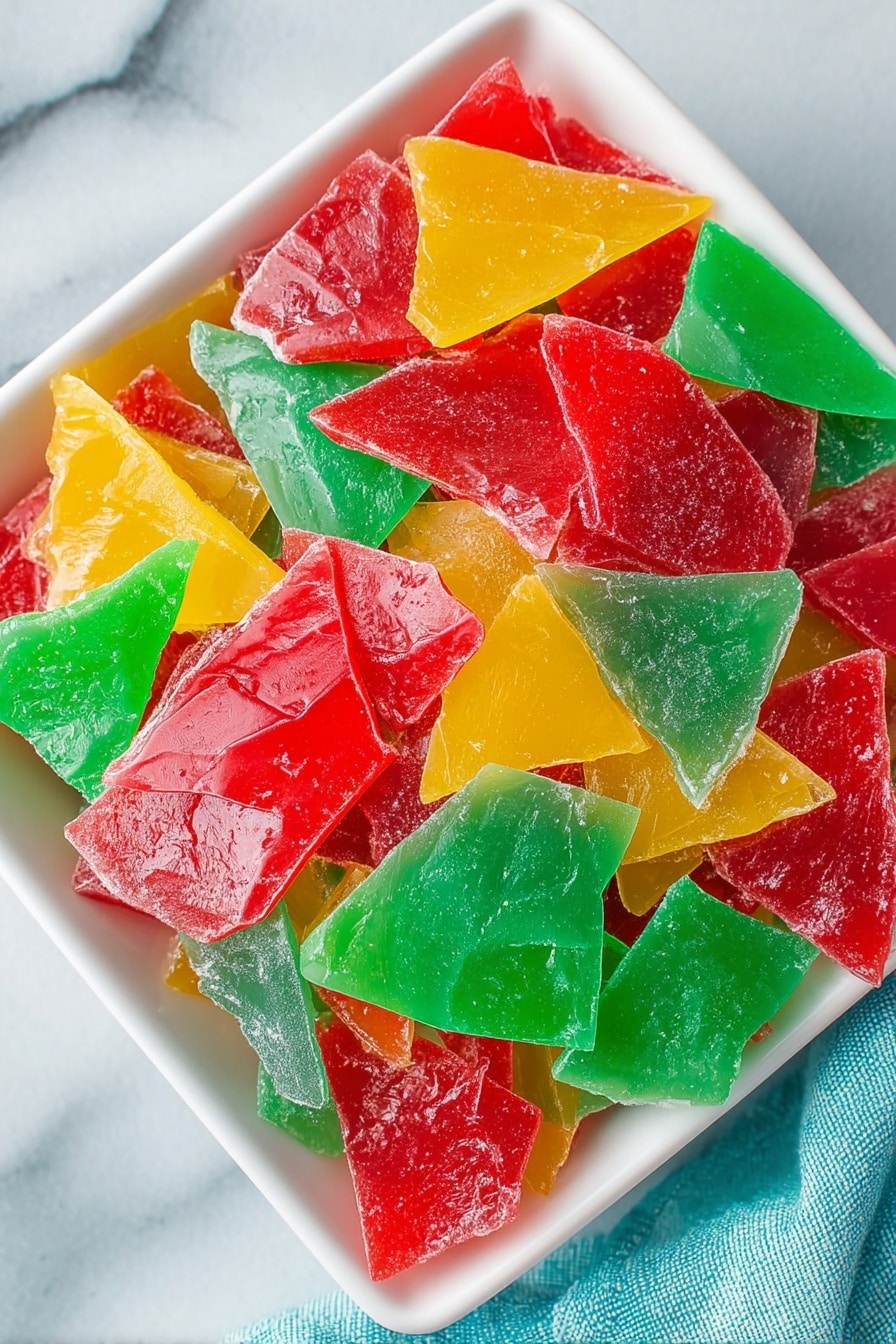
If you’ve ever wanted to capture that nostalgic, satisfying crunch of candy you used to sneak from the candy jar, you’re in the right spot. This Homemade Hard Candy Recipe is not just super fun to make, but it also tastes incredible and gives you that glossy, glass-like finish you crave. When I first tried this recipe, I was amazed at how simple it was—and how everyone in my family goes crazy for these sweet treats every time!
Why You’ll Love This Recipe
- Simplicity: Uses just a few basic ingredients that you likely already have in your pantry.
- Customizable Flavors: You can mix and match oils and colorings to create flavors uniquely your own.
- Perfect Texture: Achieves that ideal crisp, glassy snap every time when you watch the temperature carefully.
- Fun for All Ages: A great project to do with kids or friends, making candy memories while you create.

Ingredients You’ll Need
These ingredients might sound simple, but together they create candy magic. It’s essential to use light corn syrup here because it really prevents crystallization and keeps the candy smooth and shiny. Also, the oil flavorings pack a punch, so a little goes a long way!
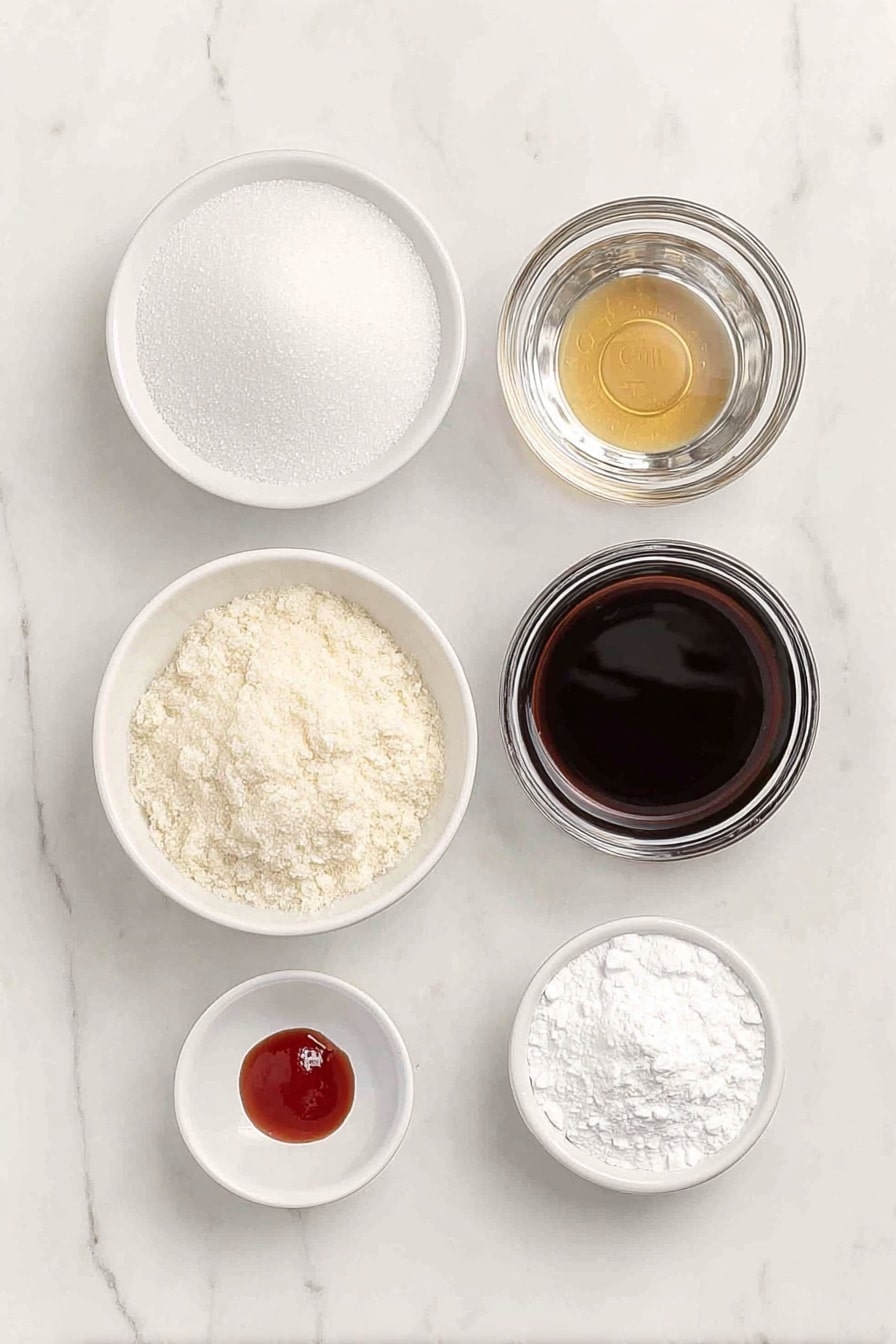
- Granulated white sugar: This is the star ingredient; make sure it’s fresh for smooth caramelization.
- Light corn syrup (Karo syrup): This keeps the candy from graining and crystallizing.
- Water: Helps dissolve the sugar and control cooking temperature.
- Oil flavoring: Much more concentrated than extract—start small, you can always add more.
- Food coloring: Adds vibrant colors—7 to 10 drops depending on the shade you want.
- Powdered sugar: For dusting the candy pieces so they don’t stick together.
Variations
One of the best parts about this Homemade Hard Candy Recipe is how adaptable it is. I love mixing up flavors and colors to match holidays or special occasions. Feel free to get creative—your candy, your rules!
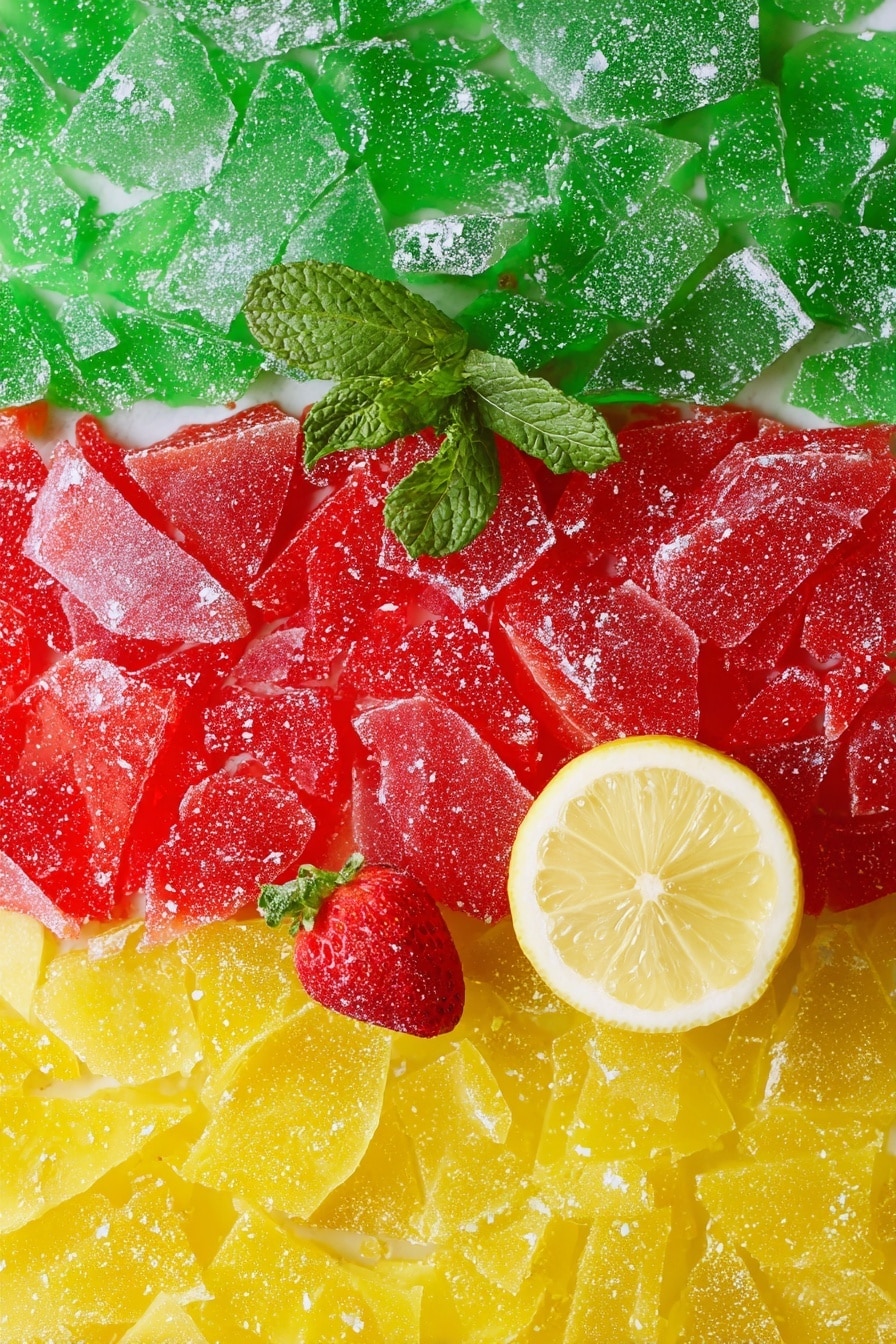
- Fruit Flavors: Strawberry oil with a little red food coloring creates a bright, summery candy that’s a family favorite.
- Minty Fresh: Spearmint or wintergreen oils with green food coloring are perfect for refreshing breath or festive treats.
- Citrus Twist: Orange or lemon oil with their respective colors make candy that brightens any day.
- Extract Experiment: If you prefer extracts over oils, start with about a tablespoon since extracts are milder.
How to Make Homemade Hard Candy Recipe
Step 1: Prep Your Workspace
Line cookie sheets with silicone mats, parchment paper, or aluminum foil, then sprinkle powdered sugar generously. This prevents sticking and makes the candy much easier to handle once it sets. I like having everything ready before heating the sugar, so you’re not scrambling at the last minute.
Step 2: Dissolve the Sugar
Combine sugar, corn syrup, and water in a heavy-bottomed saucepan. Stir continuously over medium heat until the sugar dissolves completely—no grains lurking at the bottom! This step ensures a smooth texture and prevents early crystallization, which can ruin your candy.
Step 3: Cook to Hard Crack Stage
Once the sugar is dissolved, clip a candy thermometer to the pan without stirring further. Let the mixture cook undisturbed until it hits 295°F, also known as the hard crack stage. This usually takes 35 to 45 minutes. Patience here pays off: rushing can lead to sticky or soft candy.
Step 4: Add Color and Flavor
Remove the pan from heat and quickly but carefully stir in the oil flavoring and food coloring. I always hold my breath and step to the side because the steam can be intense when adding the oil. Stir just enough to evenly distribute them—overmixing cools the syrup too fast and affects texture.
Step 5: Pour and Cool
Pour the hot candy mixture onto the prepared sheets and let it cool completely for about 30 minutes. Don’t be tempted to cut it too soon—that glossy finish and perfect snap develop as it cools down.
Step 6: Break and Dust
Cover the chilled candy with parchment or wax paper and lightly tap with a hammer, meat tenderizer, or mallet to break it into bite-sized pieces. Toss the pieces in powdered sugar to prevent sticking. This step is pretty fun—I almost feel like I’m cracking treasure!
Pro Tips for Making Homemade Hard Candy Recipe
- Watch the Temperature Closely: I use a digital candy thermometer to avoid guesswork—being off by even a few degrees changes the candy’s texture.
- Don’t Stir After Dissolving: Once the sugar is dissolved, resist stirring while it cooks to prevent crystallization which can make your candy grainy.
- Beware the Steam: When adding oil flavorings, lean away to avoid the hot steam that sometimes bursts out—learned this the hard way!
- Use Powdered Sugar, not Granulated: Helps keep candy pieces from sticking without adding graininess.
How to Serve Homemade Hard Candy Recipe
Garnishes
I like to dust the finished candy pieces lightly with extra powdered sugar—it prevents them from sticking and adds a delicate snowy finish that’s so pretty. Sometimes, I’ll tuck them into colorful cellophane bags with ribbons for gifting, which really amps up the presentation.
Side Dishes
This hard candy stands well on its own, but if I’m serving it at a party, I pair it with hot tea or coffee. The warmth complements the crisp sweetness perfectly. For a festive season, I’ve placed them alongside gingerbread cookies and peppermint bark for a candy buffet guests adore.
Creative Ways to Present
For holidays, I love molding this candy into shapes using silicone molds—or turning it into suckers by pouring into lollipop sticks. Personalized candy bags with hand-written notes make sweet gifts. And for kids’ parties, colorful candy chunks in glass jars are a big hit at the dessert table.
Make Ahead and Storage
Storing Leftovers
Keep your hard candy in an airtight container with parchment or wax paper between layers to prevent sticking. Store in a cool, dry place away from humidity—this keeps the candy crispy for weeks. I recommend using glass jars or sealed tins for best results.
Freezing
I’ve never frozen hard candy because it tends not to benefit from freezing—the texture can change when thawed. Instead, just store it well and it will stay fresh and crunchy without any need for freezer space.
Reheating
If your candy softens or becomes sticky over time, you can gently warm pieces in a low oven (around 150°F) for a few minutes to restore crispness—but be careful not to melt them. Usually, fresh batches don’t require reheating if stored right.
FAQs
-
Can I use extracts instead of oil flavorings in this Homemade Hard Candy Recipe?
Yes, you can substitute extracts for oil flavorings, but keep in mind extracts are much milder. Use about one tablespoon of extract per batch instead of one teaspoon of oil. The flavor won’t be as strong or intense but still delicious.
-
What if my candy turns cloudy or grainy?
Cloudiness and grains usually mean the sugar crystallized too soon. To prevent this, stir the sugar mixture only until dissolved, then let it cook without stirring. Using corn syrup helps reduce crystallization, and avoid any sugar crystals sticking to your pan’s sides by gently brushing them down with water before boiling.
-
How do I know when the candy is done?
The candy is done at the hard crack stage, which is 295°F on a candy thermometer. At this point, a small drop in cold water will harden into brittle threads that snap when bent. This test is a classic if you don’t have a thermometer handy but I highly recommend using one for precision.
-
Can I make different flavors and colors together?
Definitely! Cook each batch separately with its desired flavor and color, then pour them onto separate sheets or sections of a sheet. Once set, you can break them into colorful assortments. That way, everyone can enjoy their favorites.
Final Thoughts
This Homemade Hard Candy Recipe brings me back to my childhood—those sweet, crunchy moments and the excitement of making something magical from scratch. I absolutely love how this turns out every single time, and I know you will too. Whether you make it as gifts, party favors, or just a treat to brighten your afternoon, this recipe is worth every second of your time. Give it a try and share the candy joy with friends and family—you’ll make lasting memories along the way!
Print
Homemade Hard Candy Recipe
- Prep Time: 10 minutes
- Cook Time: 45 minutes
- Total Time: 1 hour 15 minutes
- Yield: 20 servings 1x
- Category: Candy
- Method: Stovetop
- Cuisine: American
Description
This Homemade Hard Candy recipe guides you through making clear, colorful, and flavorful hard candies from scratch using simple ingredients like sugar, corn syrup, and oil flavorings. Perfect for candy lovers who want a customizable treat, the recipe includes tips on flavoring, coloring, and breaking the cooled candy into bite-sized pieces.
Ingredients
Main Ingredients
- 3 ¾ cups granulated white sugar
- 1 ⅓ cups light corn syrup (Karo syrup)
- 1 cup water
Flavoring and Finishing
- 1 teaspoon oil flavoring (or up to 1 teaspoon, depending on strength)
- 7–10 drops food coloring, depending on desired hue
- Powdered sugar for dusting
Instructions
- Prep the Baking Sheets: Line cookie sheets (preferably ones with a lip) with silicone liners, parchment paper, or aluminum foil. Sprinkle a generous amount of powdered sugar on the surface and set aside to prevent sticking.
- Combine Ingredients: In a medium saucepan, combine the granulated white sugar, light corn syrup, and water. Stir continuously over medium heat until the sugar completely dissolves, ensuring a smooth syrup base.
- Cook to Hard Crack Stage: Attach a candy thermometer to the pan so that the sensor is about an inch from the bottom. Cook the syrup without stirring until it reaches 295°F (hard crack stage). This typically takes 35-45 minutes and ensures the candy sets properly.
- Add Flavor and Color: Remove the pan from heat carefully. Add the oil flavoring and 7-10 drops of food coloring to achieve your desired flavor and color. Be cautious not to lean over the pot due to steam intensity.
- Pour and Cool: Pour the hot candy mixture onto your prepared cookie sheet. Allow the candy to cool completely at room temperature, which takes approximately 30 minutes. Do not disturb during cooling to ensure a smooth finish.
- Break Into Pieces: Once cooled and hardened, cover the candy with parchment or wax paper and gently tap with a hammer, meat tenderizer, or mallet to break into small pieces or desired shapes.
- Coat with Powdered Sugar: Sprinkle the broken candy pieces with powdered sugar and gently toss to coat, preventing them from sticking together.
- Repeat for Additional Flavors: If making multiple flavors or colors, repeat the process with separate batches using different oil flavorings and food colorings.
Notes
- One batch fills one cookie sheet and yields about 20 servings, depending on the size of the candy pieces.
- Oil flavorings are more potent than extracts, requiring less quantity.
- Exercise caution not to lean over the pot when adding oil flavorings to avoid steam burns.
- The recipe can be adapted to candy molds or sucker sticks for shaped candies.
- Flavor and color combos: Strawberry oil with red coloring, lemon oil with yellow, orange oil with orange, and spearmint or wintergreen oil with green are recommended pairings.
- Up to 1 teaspoon of oil flavoring can be used for stronger flavors; extracts will require more (about 1 tablespoon) to achieve similar intensity.
Nutrition
- Serving Size: 1 piece (approximately 10 grams)
- Calories: 60
- Sugar: 15g
- Sodium: 5mg
- Fat: 0g
- Saturated Fat: 0g
- Unsaturated Fat: 0g
- Trans Fat: 0g
- Carbohydrates: 15g
- Fiber: 0g
- Protein: 0g
- Cholesterol: 0mg

Your email address will not be published. Required fields are marked *