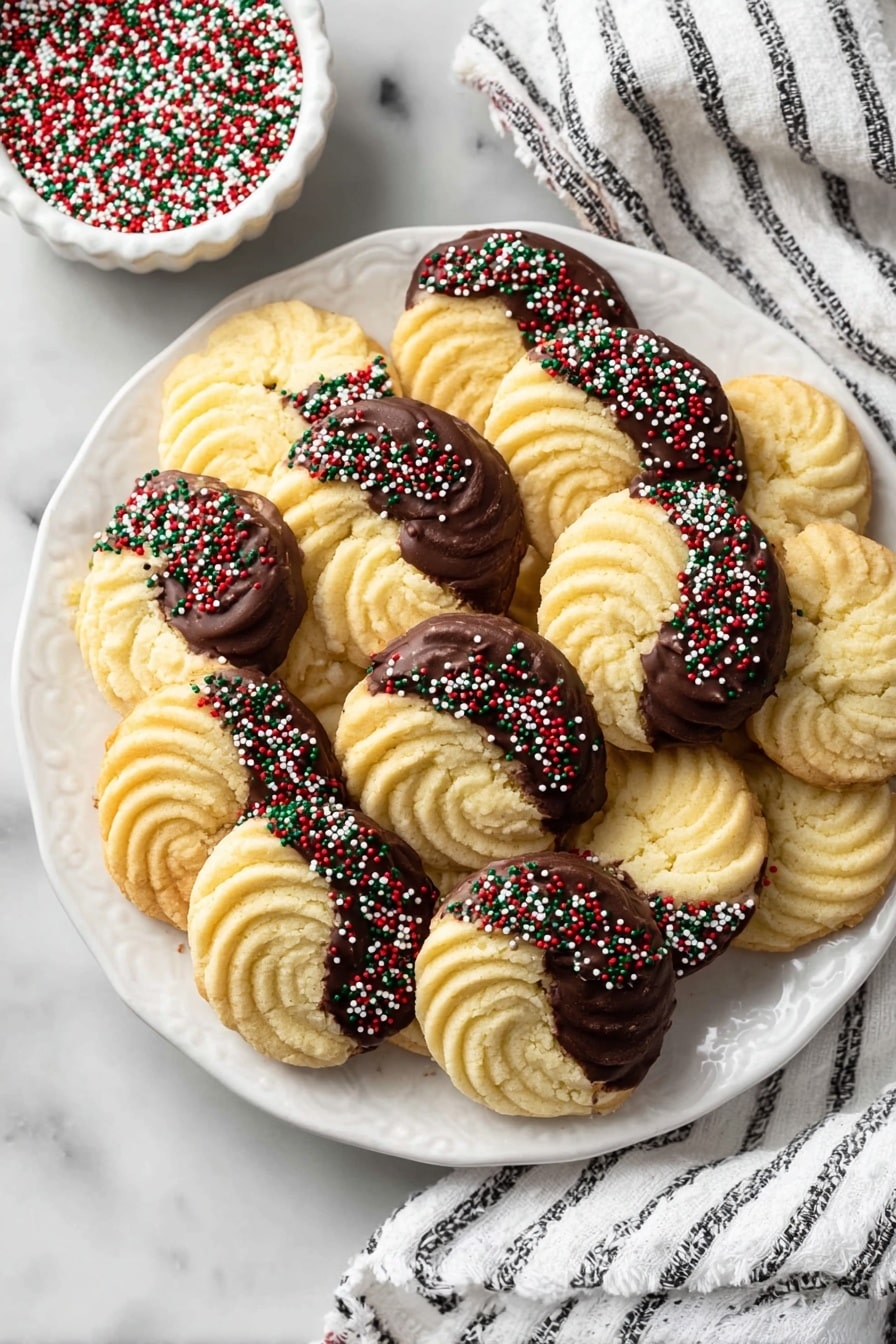
If you’re searching for that perfect sweet bite to enjoy with your afternoon tea or impress friends at your next gathering, look no further. This Danish Butter Cookies with Chocolate Recipe is one of my absolute favorites because it marries the buttery crumbly goodness of classic Danish cookies with a luscious chocolate dip—plus a fun sprinkle finish that just puts a smile on everyone’s face. Trust me, once you try these, you’ll be hooked!
Why You’ll Love This Recipe
- Classic Butteriness: These cookies boast that rich, melt-in-your-mouth butter flavor true to Danish tradition.
- Easy Chocolate Twist: The chocolate dip is simple to make, elevating the cookies without overwhelming their delicate texture.
- Fun to Decorate: Sprinkles add that playful pop, making them perfect for gifting or parties.
- No Special Tools Needed: You can make these with basic kitchen equipment, and I’ll share tips to get piping just right.

Ingredients You’ll Need
For the best results, opt for high-quality unsalted butter and good chocolate—it’s surprising how much those small upgrades impact the final cookie. Don’t worry, the rest are straightforward pantry staples that you might even already have on hand.
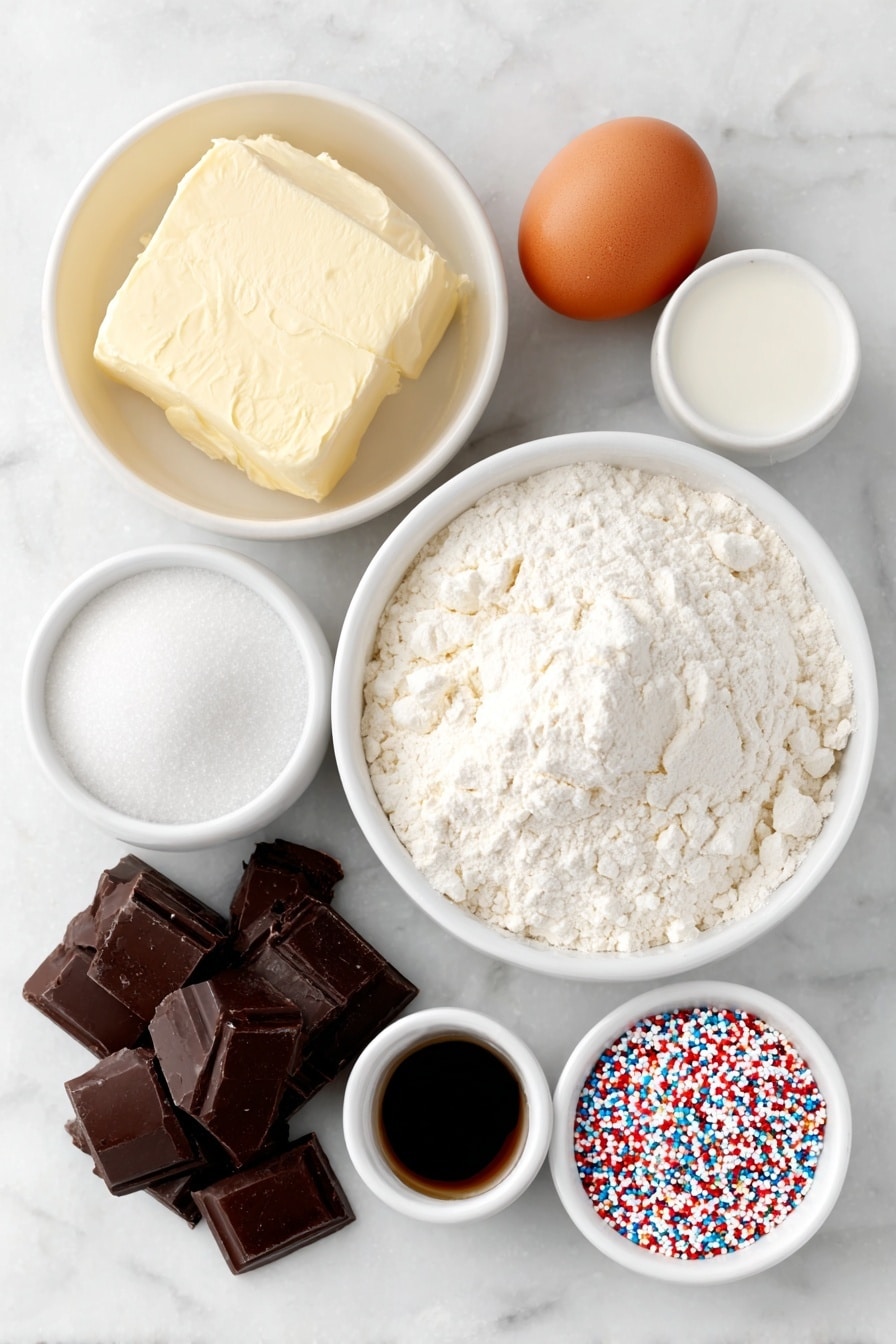
- Unsalted Butter: Room temperature for easier creaming and to control the salt in the recipe.
- Granulated Sugar: Balances the richness with sweetness without overpowering the buttery taste.
- Large Egg: Adds structure—make sure it’s at room temperature to blend smoothly.
- Vanilla Extract: Brings warmth and depth to the cookie flavor.
- All-Purpose Flour: Provides the body of the cookie—sifted or not, just avoid overmixing.
- Salt: Enhances flavor and balances sweetness, even a tiny pinch makes a difference.
- Milk: Helps create that pipeable dough texture; use sparingly to avoid a runny mix.
- Semi-Sweet or Milk Chocolate: Melts beautifully for dipping and pairs perfectly with the butter cookie’s richness.
- Sprinkles: For that fun, festive finish—choose your favorites!
Variations
I love riffing on classic recipes, and this Danish Butter Cookies with Chocolate Recipe really shines when you make it your own. Whether it’s playing with chocolate types or adding an unexpected flavor twist, there’s plenty of room to experiment here.
- Use Dark Chocolate: When I swapped in dark chocolate once, my family went crazy for the richer, slightly bitter contrast—it’s a hit if you like your treats less sweet.
- Add Citrus Zest: Try zesting some lemon or orange into your dough for a fresh, unexpected zing that brightens the cookie.
- Gluten-Free Version: I’ve had success with a 1-to-1 gluten-free flour blend—just watch the dough consistency and add milk carefully.
- Sprinkle Mix: Swap traditional sprinkles for crushed nuts or sea salt flakes for an adult twist.
How to Make Danish Butter Cookies with Chocolate Recipe
Step 1: Cream Butter and Sugar Until Light and Airy
Starting with softened unsalted butter, I use my stand mixer’s paddle attachment on medium speed to cream it with granulated sugar. This takes a few minutes, and you’ll know it’s ready when the mixture looks pale and fluffy. It’s a small but important step that really sets the texture for your cookies.
Step 2: Incorporate Egg and Vanilla
Next, crack in one egg and add a teaspoon of vanilla extract. Beat it until everything is well combined. If your egg is too cold, the mixture might seize up a bit; letting it come to room temperature first really helps keep things smooth.
Step 3: Fold in Flour and Salt Carefully
Add your all-purpose flour and a pinch of salt on low speed, mixing just until combined. Overmixing here can toughen your cookies, so be gentle. The dough will still look a bit crumbly but that’s okay.
Step 4: Adjust Dough Consistency with Milk
This step takes a little finesse. Add 2 teaspoons of milk and mix just enough to bring the dough to a pipeable consistency—it should be thick enough to hold its shape, not runny. If it’s too stiff to pipe, feel free to add 1 or 2 more teaspoons of milk, but trust me, less is more here to avoid spreading during baking.
Step 5: Pipe and Chill Before Baking
Transfer your dough to a piping bag fitted with a large tip (I prefer Ateco 849—it makes piping thick swirls much easier). Pipe 2-inch swirls onto a clean baking sheet, spacing them about 3 inches apart. A quick tip—pipe directly on the baking sheet instead of parchment paper; this helps the swirls stick better and hold their form.
Once piped, pop the baking sheet in the fridge for 15-20 minutes—this chilling step is absolutely key to preventing your cookies from spreading too much during baking.
Step 6: Bake Until Lightly Golden
Preheat your oven to 350°F and bake the chilled cookies for about 15 minutes. Watch closely—they’re done when the edges turn a lovely golden brown. Let them rest on the baking sheet for 10 minutes after baking before transferring to a wire rack; this helps them firm up perfectly without breaking.
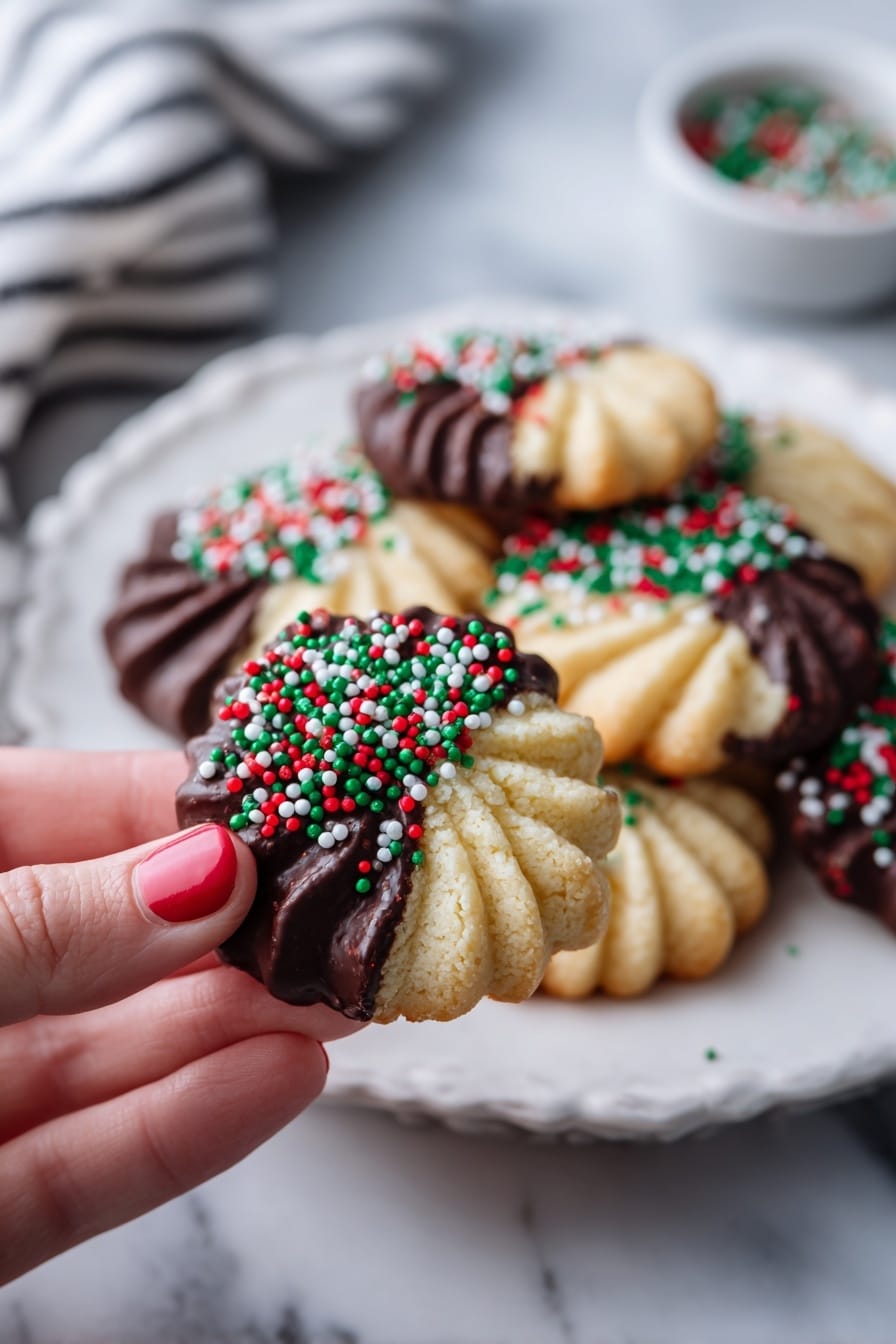
Step 7: Dip in Melted Chocolate and Decorate
While your cookies cool, it’s chocolate time. I like melting my chopped semi-sweet chocolate in short 20-second bursts in the microwave, stirring between each. This prevents burning and ensures smooth melting. Dip about two-thirds of each cookie into the warm chocolate, then rest them on parchment paper and quickly decorate with sprinkles before the chocolate sets. It’s such a satisfying finishing touch!
Pro Tips for Making Danish Butter Cookies with Chocolate Recipe
- Piping Bag Hack: If you don’t have a big piping tip, try using a ziplock bag with a corner cut off—the opening size really controls your cookie shape.
- Chill Is Key: Refrigerate piped cookies for at least 15 minutes before baking to maintain that classic swirl shape; skipping this results in flatter cookies.
- Chocolate Tempering Tip: Stir frequently when melting chocolate to avoid overheating and grainy texture—you want it silky smooth for dipping.
- Avoid Overbaking: Keep a close eye as oven temps vary; cookies go from perfect to too crisp pretty quickly past 15 minutes.
How to Serve Danish Butter Cookies with Chocolate Recipe
Garnishes
I typically stick with classic rainbow sprinkles because they add a cheerful look that makes these cookies irresistible—especially to kids. But if I’m serving grown-up guests, I’ll swap for chopped pistachios or a light dusting of sea salt flakes on the chocolate, which adds a lovely contrast to the sweetness.
Side Dishes
These Danish Butter Cookies with Chocolate pair perfectly with a hot cup of tea, coffee, or even a lightly chilled glass of milk. For a festive spread, I like placing them alongside fresh fruit or a simple cheese board for an elegant balance.
Creative Ways to Present
For holidays or parties, I’ve wrapped sets of cookies in clear cellophane tied with a satin ribbon—it makes a beautiful homemade gift. Another fun idea is arranging the cookies on a festive platter layered with paper doilies and fresh herbs like rosemary or mint for an aromatic touch.
Make Ahead and Storage
Storing Leftovers
After cooling completely, I store these cookies in an airtight container layered with parchment paper between batches to prevent sticking. They stay fresh and crumbly for up to a week at room temperature—perfect if you want a cookie on hand for several days.
Freezing
If you want to make a big batch ahead, you can freeze the piped dough BEFORE baking by placing them on a baking sheet until solid, then transferring them to a freezer bag. When ready, bake straight from frozen, adding a couple more minutes. I’ve found freezing baked cookies can affect texture a bit, so freezing dough is my preferred route.
Reheating
To freshen up stored cookies, I pop them in a preheated oven at 300°F for 3-5 minutes. This revives their buttery crispness without melting the chocolate too much. Just keep an eye on them to avoid burning.
FAQs
-
Can I use salted butter instead of unsalted for this Danish Butter Cookies with Chocolate Recipe?
You can, but I recommend reducing or omitting any extra salt in the dough if using salted butter to avoid overly salty cookies. Unsalted butter gives you better control over the final flavor balance.
-
What’s the best way to get perfect pipe shapes for these cookies?
Use a large star or French piping tip like Ateco 849 for thick, defined swirls. If your dough is too thick to pipe, add milk one teaspoon at a time. Also, chilling the piped dough before baking helps maintain those beautiful shapes.
-
Can I skip the chocolate and sprinkles?
Absolutely! The cookies are delicious plain and buttery on their own. The chocolate dip and sprinkles just add a festive, flavorful layer if you want to dress them up.
-
How should I store these cookies to keep them fresh?
Store them in an airtight container at room temperature with parchment paper between layers. They’ll stay crisp and fresh for up to a week, perfect for enjoying over several days.
Final Thoughts
I absolutely love how this Danish Butter Cookies with Chocolate Recipe turns out every time. When I first tried it, I was surprised how easy it was to get that buttery, tender texture with just a few pantry staples. My family goes crazy for this cookie—they’re always the first things to disappear at parties! If you’re craving a slice of Danish tradition with a chocolate twist, give this recipe a whirl. I promise you’ll find yourself making them again and again.
Print
Danish Butter Cookies with Chocolate Recipe
- Prep Time: 20 minutes
- Cook Time: 15 minutes
- Total Time: 55 minutes
- Yield: 22 cookies 1x
- Category: Dessert
- Method: Baking
- Cuisine: Danish
Description
This Danish Butter Cookies recipe delivers classic, crisp, buttery cookies with a light golden finish, perfect for any occasion. The dough is piped into elegant swirls and baked to perfection, then dipped in melted chocolate and decorated with colorful sprinkles for an irresistible treat with a delightful texture and rich flavor.
Ingredients
Cookie Dough
- 1 cup unsalted butter, room temperature
- ⅔ cup granulated sugar
- 1 large egg, room temperature
- 1 teaspoon vanilla extract
- 2 cups all-purpose flour
- ¼ teaspoon salt
- 2 teaspoons milk (adjust as needed)
Decoration
- 3 oz semi-sweet or milk chocolate
- 3 tablespoons sprinkles
Instructions
- Cream Butter and Sugar: Using a stand mixer with a paddle attachment or a hand mixer, cream together 1 cup unsalted butter and ⅔ cup granulated sugar for several minutes until the mixture is light and airy.
- Add Egg and Vanilla: Add the large egg and 1 teaspoon vanilla extract to the creamed mixture and beat until well combined.
- Incorporate Dry Ingredients: Slowly add 2 cups all-purpose flour and ¼ teaspoon salt, mixing on low speed until just combined to form the dough.
- Add Milk: Mix in 2 teaspoons of milk to achieve a pipeable yet firm dough consistency. Add more milk sparingly if the dough is too thick.
- Pipe the Dough: Transfer the dough to a piping bag fitted with a large tip (preferably Ateco 849 or Ateco 826) and pipe 2-inch swirls onto a baking sheet without parchment paper, spacing them about 3 inches apart.
- Chill the Dough: Refrigerate the piped cookies for 15-20 minutes to help them maintain shape during baking.
- Preheat Oven and Bake: Preheat the oven to 350°F (175°C) and bake the cookies for approximately 15 minutes, or until the edges are golden brown.
- Cool the Cookies: Remove the baking sheet from the oven and allow the cookies to cool on it for 10 minutes before transferring them to a wire rack to cool completely.
- Melt Chocolate: Chop 3 oz of semi-sweet or milk chocolate and melt it using a double boiler or microwave in 20-second increments, stirring thoroughly between intervals.
- Dip and Decorate: Dip about two-thirds of each cookie into the melted chocolate, place on parchment paper, sprinkle with 3 tablespoons of sprinkles, and allow the chocolate to set completely before serving or storing.
Notes
- Use a wide piping tip like Ateco 849 or Ateco 826 for easier piping of thicker dough, which helps cookies keep their shape better during baking.
- If you only have a smaller piping tip such as Wilton 1M, add more milk to thin out the dough, but be aware this may cause cookies to spread more while baking.
- Pipe directly onto the baking sheet without parchment paper so the cookies stick better while baking.
- If the dough is too thick to pipe easily, add 1-2 teaspoons of milk and mix again before piping.
- Always refrigerate piped cookies before baking to prevent spreading and maintain shape.
Nutrition
- Serving Size: 1 cookie
- Calories: 110
- Sugar: 6g
- Sodium: 45mg
- Fat: 7g
- Saturated Fat: 4.5g
- Unsaturated Fat: 2g
- Trans Fat: 0g
- Carbohydrates: 11g
- Fiber: 0.3g
- Protein: 1g
- Cholesterol: 20mg

Your email address will not be published. Required fields are marked *