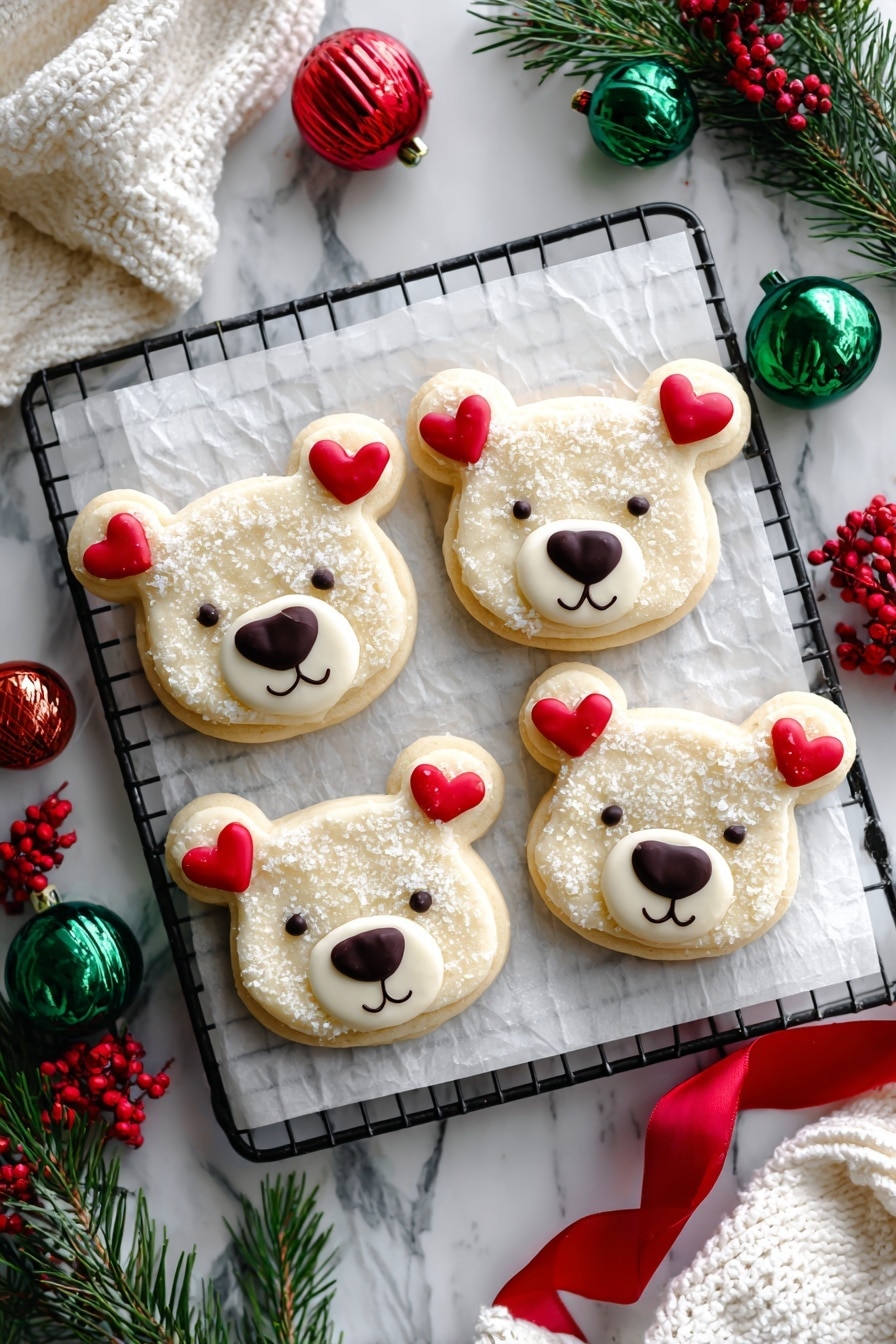
If you’re looking for the cutest and most scrumptiously soft cookie recipe, you’re in for a treat with this Cream Cheese Polar Bear Cookies Recipe. I absolutely love how these cookies turn out—soft, tender, with just the right hint of cream cheese richness, and of course, those adorable polar bear faces that make them perfect for sharing with family and friends. Stick around, because not only am I sharing the full recipe, but also all the tips and tricks I discovered to make your baking process smooth and your results perfect every time!
Why You’ll Love This Recipe
- Soft and Tender Texture: The cream cheese gives these cookies an irresistibly soft, fluffy crumb that melts in your mouth.
- Adorable Design: They look like little polar bears, perfect for kids’ parties or holiday baking.
- Easy to Customize: You can tweak the decorations or frosting to suit your taste and occasion.
- Reliable and Foolproof: Once you follow my step-by-step tips, you’ll get consistently perfect cookies every time.

Ingredients You’ll Need
These ingredients work beautifully together to create a soft-batch cookie with a luscious buttercream frosting. I always recommend using full-fat cream cheese for the best flavor and texture, and real vanilla bean paste if you can find it—it adds that deep, warm fragrance that makes the cookies feel so special.
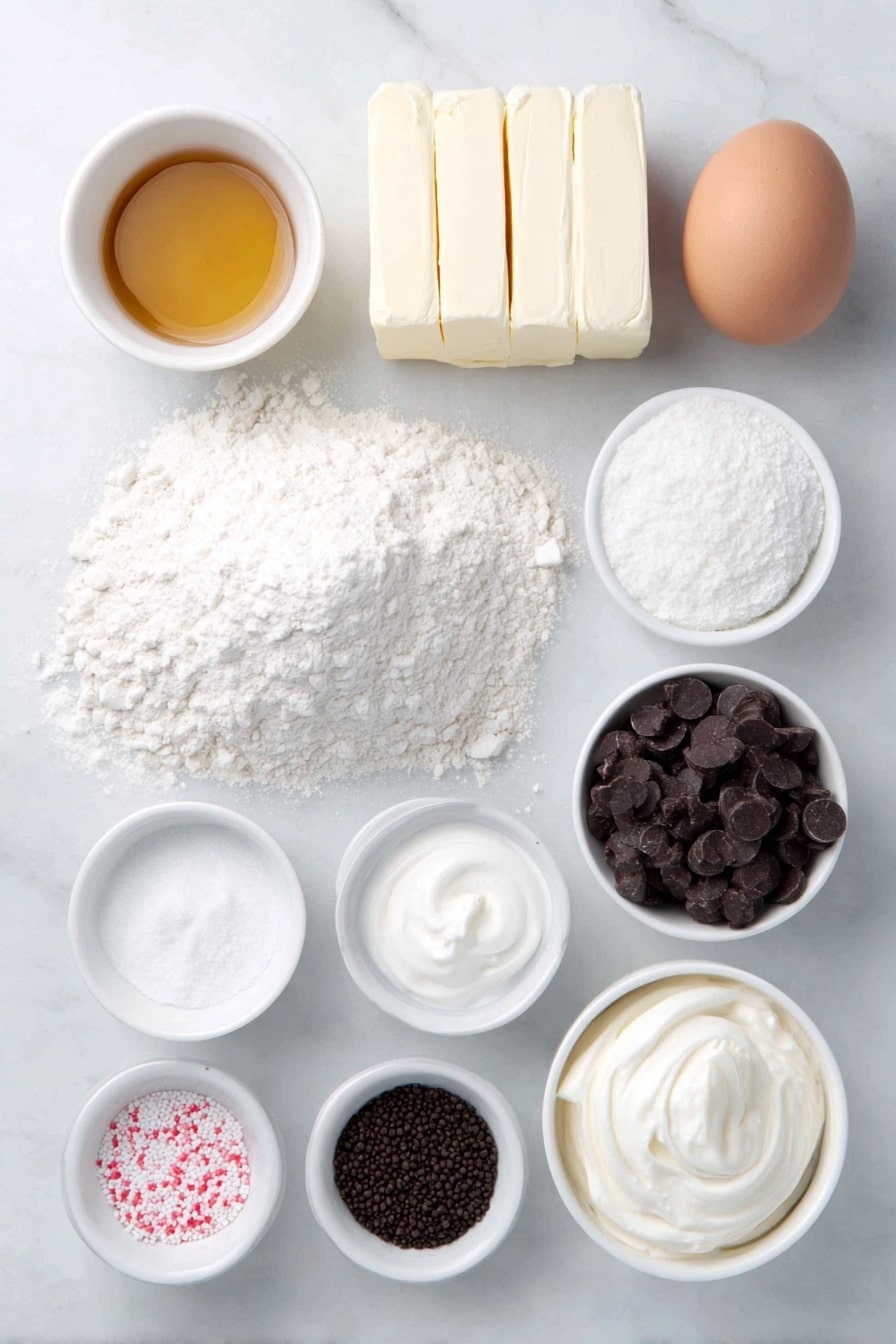
- Unsalted Butter: Room temperature for easy creaming and a clean buttery flavor.
- Full Fat Cream Cheese: Adds moisture and tenderness, making cookies soft without being greasy.
- Granulated Sugar: For sweetness and helps with the cookie’s structure.
- Large Egg: Helps bind ingredients and gives richness.
- Vanilla Extract or Vanilla Bean Paste: Adds warm, comforting flavor; bean paste offers a bit more depth.
- All-Purpose Flour: The base that holds everything together.
- Cornstarch: Key for that tender, soft crumb—it lightens the flour’s bite.
- Baking Powder: Gives a little lift for a tender but not cakey texture.
- Fine Salt: Balances the sweetness and enhances all the flavors.
- Powdered Sugar: Essential for a smooth, creamy frosting.
- Heavy Whipping Cream: Thins out the frosting and makes it luxuriously creamy.
- Decorations: Coarse sanding sugar, chocolate chips, and colored sprinkles add charm and character to your polar bears.
Variations
I love how versatile the Cream Cheese Polar Bear Cookies Recipe is—you can add your own twist depending on the occasion or your flavor cravings. Feel free to get creative and make it your own!
- Chocolate Chip Ears and Nose: Instead of just chocolate chips for the nose, I sometimes mini-chip the ears too for extra texture and contrast. My kids go crazy for these little chocolate surprises.
- Almond or Lemon Extract: Swap out half the vanilla with almond or lemon extract for a subtle twist in flavor that keeps things interesting.
- Colored Frosting: Mix natural food coloring into the buttercream to match seasonal themes—think icy blues for winter or pastel pinks for spring.
- Gluten-Free Version: Use a 1-to-1 gluten-free baking flour blend to make these cookies safe for gluten-sensitive friends; just watch the dough texture and add a little extra cornstarch if needed.
How to Make Cream Cheese Polar Bear Cookies Recipe
Step 1: Cream the Butter and Cream Cheese Until Silky Smooth
The key to that soft, tender texture I’m obsessed with starts here. Use a stand mixer or hand mixer and beat the butter and cream cheese together on medium speed until the mixture looks silky and homogenous—no lumps! I like to take my time here and really get some air into the dough. This not only makes your cookies fluffier but also helps the sugar dissolve nicely.
Step 2: Sweeten and Flavor
Next, add your granulated sugar and beat on medium-high speed for a couple of minutes. This step lightens the color and whips up the mixture’s fluffiness. Then add the egg and vanilla, mixing until fully incorporated. It’s at this point when your kitchen starts smelling irresistible—vanilla is such a mood-lifter, isn’t it?
Step 3: Combine Dry Ingredients and Mix Gently
In a separate bowl, whisk together flour, cornstarch, baking powder, and salt. Here’s my tried-and-true tip: add the dry ingredients in two batches on low speed and stop as soon as you no longer see flour. Overmixing develops gluten and can make your cookies tough, which is the last thing you want.
Step 4: Chill That Sticky Dough
Once your dough is mixed, divide it into two halves and wrap each in plastic wrap. I love flattening it into rectangles about ½ inch tall because it makes rolling out later so much easier. Chill for at least two hours or freeze for 30 minutes. If you do an overnight chill, just let the dough sit at room temp for 10 minutes before rolling.
Step 5: Roll Out and Cut Your Polar Bears
Flour your counter and rolling pin generously, then roll the dough to about 1/3 inch thick. I roll the dough right on the plastic wrap to save time cleaning up, and it helps keep the dough from sticking. Cut large 2 ½ inch circles for the face, then smaller ¾ inch circles for the ears. Pro tip: shave a tiny bit off the edge of the little circles so they sit flat. Attach ears by gently pressing them onto the big circle.
Step 6: Chill Again and Bake
Pop those cut-outs back into the fridge for 15 minutes or the freezer for 5 minutes to hold their shape. Bake at 350°F (175°C) for 12-14 minutes. Watch carefully—the edges should stay pale; you want soft cookies, not browned ones. Let cool on baking sheets for 15 minutes before transferring to a wire rack.
Step 7: Whip Up the Buttercream
Beat softened butter until smooth, add vanilla and salt, then gradually add powdered sugar and cream. Adjust cream or sugar until you get a velvety frosting that pipes easily. I love using a piping bag with a round tip for neat, precise frosting—makes decorating so much easier!
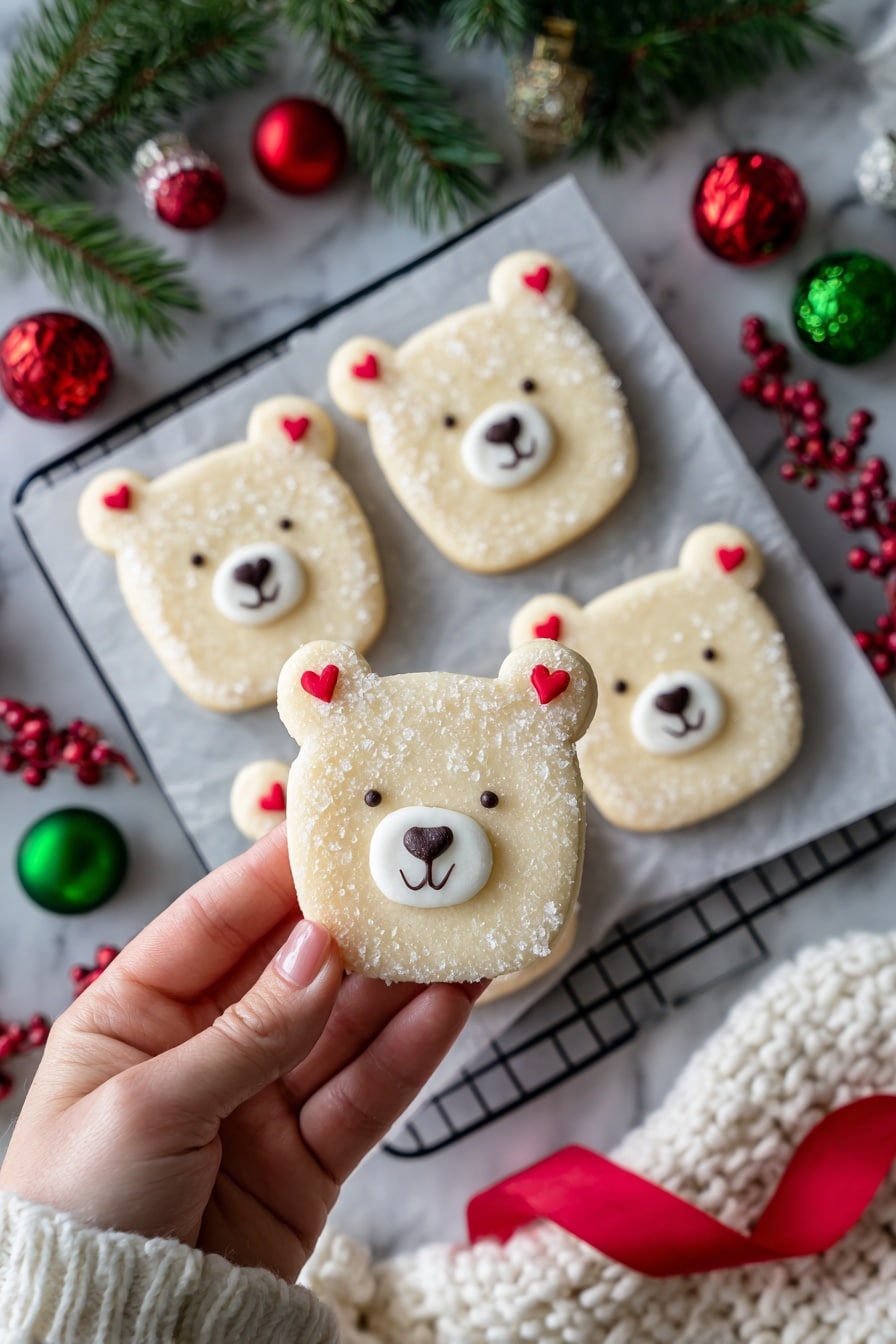
Step 8: Decorate Your Polar Bears
Once cookies are completely cool, pipe a thin layer of frosting and dip into sanding sugar for a sparkly, frosty look. Then pipe the muzzle, add a chocolate chip nose, black sprinkles for eyes, and red or pink sprinkles for the ears. I once used little fondant pieces when I ran out of sprinkles—they worked just as well! Feel free to get creative here—it’s all about having fun with your polar bear friends.
Pro Tips for Making Cream Cheese Polar Bear Cookies Recipe
- Cream Cheese and Butter Soften Properly: I once tried making these cookies with cold cream cheese, and the texture suffered—always bring them to room temperature for best results.
- Don’t Skip the Chill: Chilling the dough is key to avoiding spreading, which can mess up your polar bear shape.
- Use a Baking Mat or Parchment Paper: These cookies can be delicate when warm, so a non-stick surface helps with smooth removal.
- Watch Your Baking Time Carefully: Cookies can go from soft to too brown quickly; take them out just before edges color.
How to Serve Cream Cheese Polar Bear Cookies Recipe
Garnishes
I like to keep it simple with some coarse sanding sugar for a sparkling finish, but the sprinkles are where the magic happens. Black nonpareils or chocolate chips make perfect eyes and noses; meanwhile, a pop of red or pink sprinkle for the ears adds that cute blush effect that really brings the bears to life.
Side Dishes
Pair these cookies with a cozy cup of hot chocolate or a glass of cold milk—the soft richness of the cookies plays beautifully alongside creamy drinks. For a party, I like to set them next to a fruit platter to balance the sweetness with some fresh brightness.
Creative Ways to Present
For special occasions, I arrange the cookies on a snowy-themed platter lined with white or silver parchment, adding in edible glitter or faux snow sprinkles for a winter wonderland effect. I once made a whole polar bear family set with different expressions, and it was a huge hit at my niece’s birthday!
Make Ahead and Storage
Storing Leftovers
Leftover cookies keep great in an airtight container. I usually store them at room temperature if I’m eating within a couple of days, but if you need them longer, popping them in the fridge helps them last up to 5 days without losing that soft, creamy texture.
Freezing
I’ve frozen both cookie dough and baked cookies with excellent results. Dough freezes best wrapped tightly in plastic wrap and stored in a sealed container. When ready, thaw overnight in the fridge before rolling and baking. Baked, unfrosted cookies can be frozen for up to a month—just freeze flat in a single layer first, then stack with parchment paper between layers to prevent sticking.
Reheating
To enjoy frozen baked cookies, thaw them in the fridge overnight, then bring to room temp before frosting. If you want to warm them slightly, pop them in the oven at 300°F for 5 minutes—just keep an eye so they don’t brown. This revives the softness wonderfully.
FAQs
-
Can I substitute cream cheese with something else in this recipe?
While cream cheese is key to achieving the signature soft texture and tangy flavor, you could substitute with mascarpone cheese for a milder flavor, but results may vary. Regular butter-only cookies won’t have the same softness or richness.
-
How do I prevent my polar bear cookies from spreading?
Chilling the dough thoroughly before baking is your best defense against spreading. Also, avoid over-mixing the dough once flour is added and make sure your baking powder is fresh for proper rise without excess spread.
-
Can I make these cookies gluten-free?
Yes! I recommend using a 1-to-1 gluten-free baking flour blend which usually contains xanthan gum to mimic gluten’s texture. Be mindful of the dough’s elasticity and adjust with a pinch more cornstarch if it feels too sticky.
-
What makes the buttercream frosting so smooth?
Using room temperature butter and slowly adding powdered sugar while mixing on low speed creates that silky texture. Adding heavy cream gradually helps you achieve the perfect consistency without it being too runny or stiff.
-
How do I decorate the facial features if I don’t have sprinkles?
I’ve gotten creative using mini chocolate chips, small pieces of fondant, or even edible markers for drawing. The key is having fun with it—imperfections add personality to your polar bears!
Final Thoughts
This Cream Cheese Polar Bear Cookies Recipe holds a special place in my heart because it’s just so charming and approachable for home bakers. It’s the kind of recipe you’ll want to make again and again—to see those happy faces, hear the “awws,” and enjoy that heavenly softness in every bite. Trust me, once you try this, it will become a favorite in your cookie repertoire. So grab your mixing bowl and get ready to bake some smiles today!
Print
Cream Cheese Polar Bear Cookies Recipe
- Prep Time: 20 minutes
- Cook Time: 14 minutes
- Total Time: 2 hours 4 minutes
- Yield: 30 cookies 1x
- Category: Dessert,Cookies
- Method: Baking
- Cuisine: American
- Diet: Vegetarian
Description
These Soft-Batch Polar Bear Cookies are a delightful treat featuring tender cream cheese cookies topped with creamy buttercream frosting and decorated with sanding sugar and chocolate for a fun polar bear design. Perfectly soft, buttery, and lightly sweetened, they are ideal for holiday celebrations, kids’ parties, or any special occasion where a whimsical cookie is welcome.
Ingredients
Soft-Batch Cream Cheese Cookies
- 3/4 cup (1 1/2 sticks) unsalted butter, room temperature (170g)
- 1/2 cup or 4 oz. full fat cream cheese, room temp (113g)
- 1 1/2 cups granulated sugar (300g)
- 1 large egg, room temperature (56g)
- 2 tsp vanilla extract or vanilla bean paste (8g)
- 3 cups all-purpose flour (375g)
- 1 Tbsp cornstarch (8g)
- 1/2 tsp baking powder (2g)
- 1/2 tsp fine salt (3g)
Buttercream Frosting for Cookies
- 1 cup unsalted butter, room temperature (226g)
- 1 Tbsp vanilla extract or vanilla bean paste (12g)
- 1/2 tsp fine salt (3g)
- 3 1/2 cups powdered sugar (454g or 1 lb. box)
- 1/4 cup heavy whipping cream, room temperature (60g)
Decorations
- 1 cup coarse sanding sugar
- 30 large chocolate chips (Ghirardelli dark chocolate recommended)
- Round black sprinkles
- Round red or pink sprinkles
Instructions
- Make the Cookie Dough: In a large bowl or stand mixer with a whisk attachment, beat together the butter and cream cheese on medium speed until smooth. Add the granulated sugar and beat on medium-high speed for a couple of minutes until the mixture lightens in color. Incorporate the egg and vanilla extract by mixing on medium speed until fully combined.
- Combine Dry Ingredients: In a separate bowl, whisk together the flour, cornstarch, baking powder, and salt until evenly mixed.
- Mix Dry and Wet Ingredients: Add the flour mixture into the butter mixture in two batches, mixing on low speed just until incorporated. Scrape down the sides of the bowl between additions to ensure even mixing. The dough will remain sticky.
- Chill the Dough: Divide the dough in half and flatten each portion into a rectangle about 1/2 inch thick. Wrap tightly in plastic wrap and chill in the refrigerator for approximately 2 hours, or in the freezer for 30 minutes. Dough can also be chilled overnight for convenience, letting it sit at room temperature for 10 minutes before rolling.
- Prepare Oven and Baking Sheet: Preheat the oven to 350°F (175°C) at least 30 minutes before baking. Line two large baking sheets with silicone mats or parchment paper and set aside.
- Roll and Cut Cookies: Remove one dough portion from the fridge or freezer. Unwrap and place on plastic wrap. Dust both sides of the dough and the rolling pin with flour. Roll dough to 1/3 inch thickness. Use a 2 1/2 inch circle cutter (or similar size glass) to cut out large circles for the bear faces. Brush off excess flour with a kitchen brush and place cookies about 1 inch apart on baking sheets.
- Cut Bear Ears: Using a 3/4 inch cutter or small bottle cap, cut out smaller circles for ears from remaining dough. Cut a small notch from each small circle to help ears sit flush with larger circles. Place two ears on each large circle, gently pressing to adhere.
- Chill Cut-Out Cookies: Chill assembled cookies again for 15 minutes in the fridge or for 5 minutes in the freezer to maintain shape during baking.
- Bake Cookies: Bake one sheet at a time on the top oven rack for 12-14 minutes or until edges are just set and not browned. Keep a close eye to avoid overbaking.
- Cool Cookies: Cool cookies on the baking sheet for 15 minutes, then transfer them to a wire rack to cool completely.
- Repeat Baking: Re-knead cookie scraps, rewrap, chill, then roll and bake as before until all dough is used.
- Prepare Buttercream Frosting: Beat butter on medium speed for 30 seconds until smooth. Add vanilla and salt, mixing on low. Gradually add powdered sugar and heavy cream, scraping bowl as needed. Adjust consistency with additional cream or powdered sugar. Transfer frosting to a piping bag fitted with a medium round tip or cut 1 cm opening in the bag.
- Decorate Cookies: Pour sanding sugar into a small bowl. Pipe a thin layer of frosting onto each cooled cookie, then press the cookie top into the sanding sugar to cover evenly. Pipe a small oval near the bottom center of the cookie to create the bear’s muzzle. Place a chocolate chip on top for the nose. Use black sprinkles for eyes and red or pink sprinkles for ears. Get creative with decorations if desired.
Notes
- This recipe yields about 30 cookies of 2 1/2 inch size; yield and baking time depend on cookie cutter size.
- Cookie dough can be halved; avoid doubling unless using commercial mixer due to mixing capacity.
- Store frosted cookies airtight at room temperature for up to 2 days, in the fridge for 5 days, or freeze for 1 month.
- Unfrosted baked cookies and dough can be frozen for up to 1 month; thaw dough in fridge overnight before rolling.
- Chill dough thoroughly before rolling to prevent spreading and maintain soft texture.
- Do not overwork dough to avoid tough cookies.
- Flour work surface liberally when rolling dough for easier handling.
- Avoid overbaking; cookies continue cooking slightly off the heat and should be removed before edges brown.
- Feel free to substitute decoration elements with what you have, including using fondant.
Nutrition
- Serving Size: 1 cookie
- Calories: 180
- Sugar: 18g
- Sodium: 90mg
- Fat: 9g
- Saturated Fat: 5g
- Unsaturated Fat: 3g
- Trans Fat: 0g
- Carbohydrates: 24g
- Fiber: 0.5g
- Protein: 2g
- Cholesterol: 30mg

Your email address will not be published. Required fields are marked *