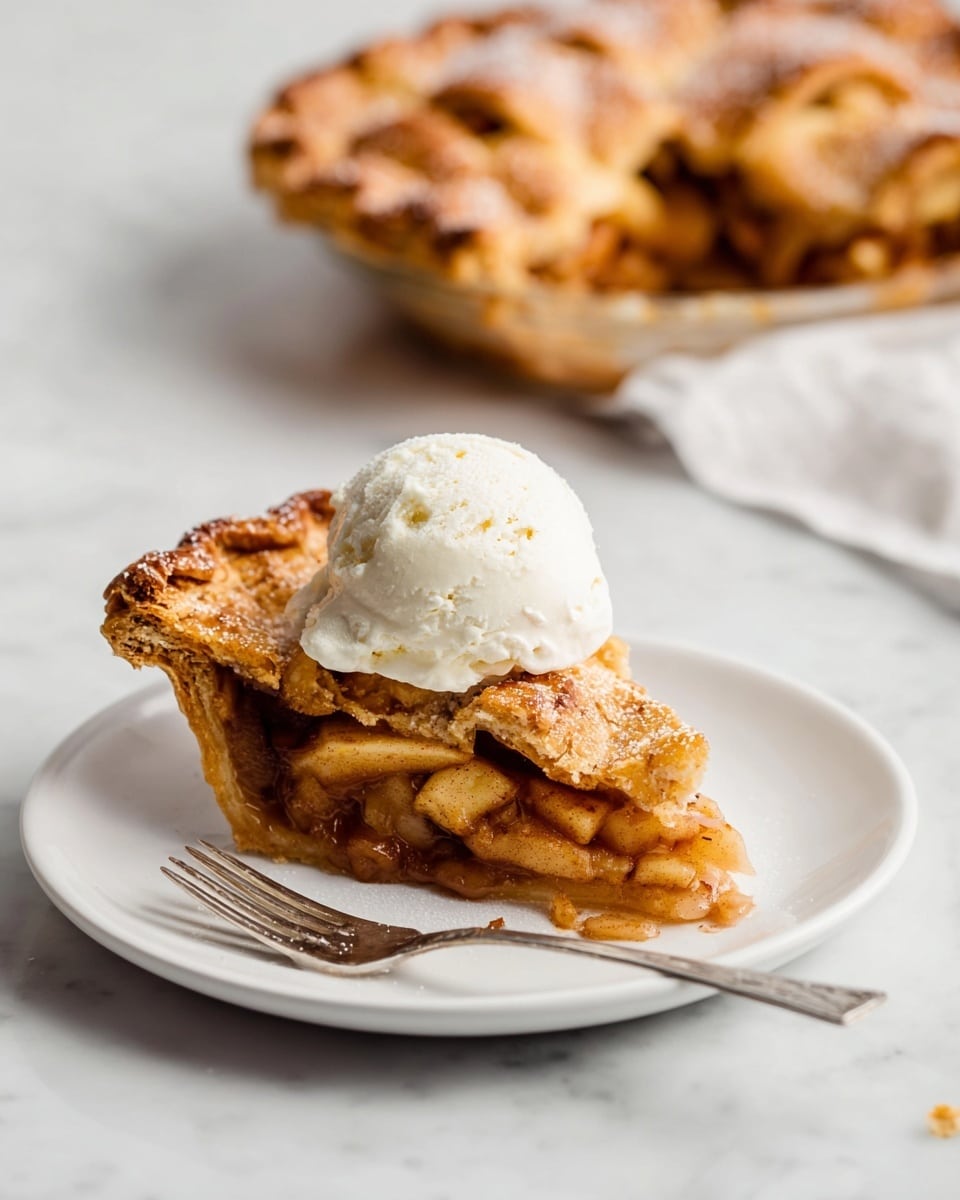
If you’re anything like me, the combination of warm, spiced apple pie with a generous scoop of melting ice cream is pure comfort on a plate. That’s why I’m so excited to share my Apple Pie à la Mode (Apple Pie with Ice Cream) Recipe with you — it’s the ultimate twist on a classic dessert that’ll have your family and friends asking for seconds (or thirds!). Trust me, this recipe nails the perfect balance between a flaky, buttery crust and juicy, cinnamon-kissed apples, all topped with creamy ice cream for the ideal end to any meal. Keep reading, because I’ve added some heartfelt tips and tricks to help you bake this beauty perfectly every time.
Why You’ll Love This Recipe
- Perfectly Flaky Crust: The technique of mixing half tiny and half medium butter pieces creates a crust that melts in your mouth every single time.
- Balanced Apple Filling: Using Pink Lady, Royal Gala, or Fuji apples gives a wonderful mix of tartness and sweetness.
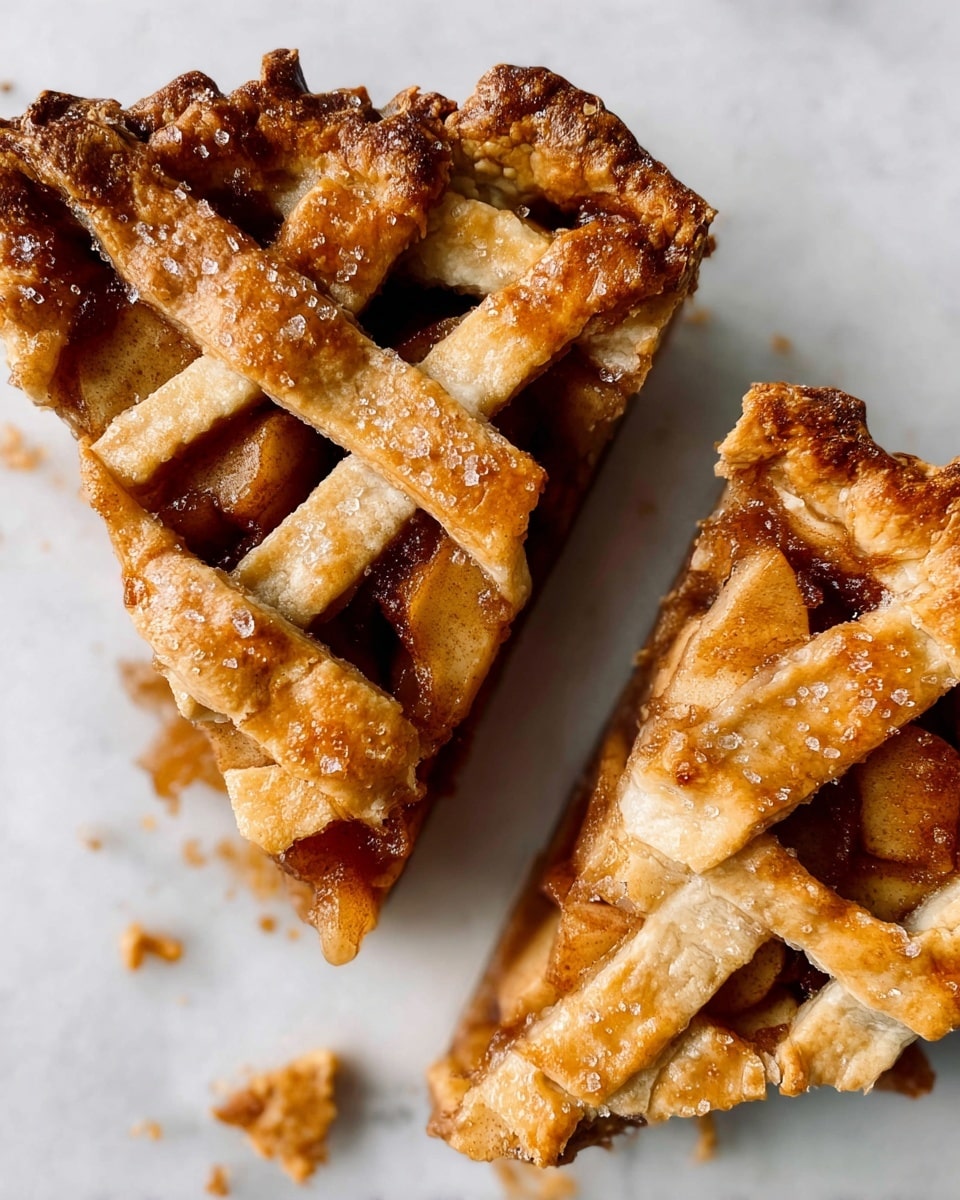
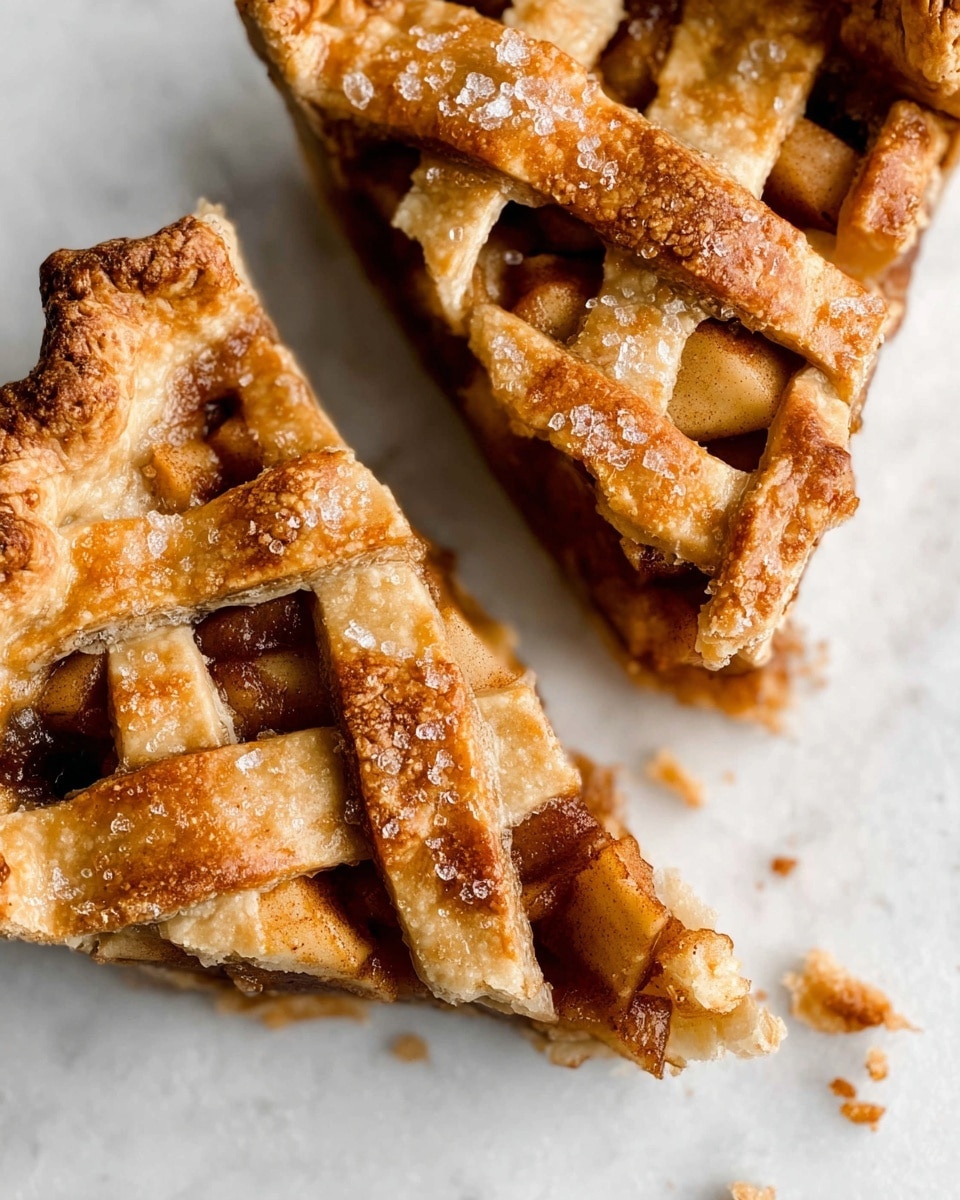
- Homemade Lattice Topping: Crafting the lattice crust isn’t as intimidating as it looks — plus, it gives your pie that gorgeous, bakery-quality finish.
- Classic à la Mode Finish: Serving it warm with vanilla ice cream (or your favorite flavor) takes this dessert from delicious to downright irresistible.
Ingredients You’ll Need
When you gather your ingredients, you’ll notice this recipe calls for simple pantry staples and fresh apples that really shine through. The combo of brown sugar and cinnamon creates that signature apple pie fragrance you want wafting from your oven, while using almond flour helps keep the crust crisp beneath all that juicy filling.
- All-purpose flour: This forms the base of your crisp, flaky crust — make sure it’s fresh for best results.
- Granulated sugar: Adds just a touch of sweetness to the dough without overpowering.
- Salt: Enhances all the flavors and balances out sweetness in the crust and filling.
- Unsalted butter (cold cubes): The secret to a flaky crust is cold butter that creates those lovely layers as it bakes.
- Water: Cold water brings the dough together, so don’t rush this step — keep it chilled.
- Apples (Pink Lady, Royal Gala, or Fuji): I love mixing these varieties for flavor depth — firm enough to hold shape but soft enough when baked.
- Unsalted butter (for filling): Adds richness and helps meld flavors while cooking the apples.
- Brown sugar: Caramelizes nicely and gives a deeper sweetness to the filling and topping.
- Ground cinnamon: The warm spice that pairs perfectly with apples every time.
- Cornstarch: Thickens the filling so it’s luscious and not runny.
- Almond flour or finely ground nuts/breadcrumbs: Sprinkle in the base to absorb excess moisture and keep the crust bottom crisp.
- Egg: Used for an egg wash to give that beautiful golden color on your crust.
- Water (for egg wash): Thins out the egg for a smooth, even coat.
- Vanilla ice cream: The classic topping that melts over a warm slice — but feel free to use whatever flavor you prefer!
Variations
I love how versatile this Apple Pie à la Mode (Apple Pie with Ice Cream) Recipe is — it’s easy to tweak based on what you have in your kitchen or who you’re serving. Here are a few ways I like to customize it for fun or dietary needs.
- Gluten-Free Crust: I swapped the all-purpose flour for a gluten-free blend once for a friend with celiac — it held up beautifully and nobody missed the traditional crust.
- Spice it Up: Sometimes, I add a pinch of nutmeg or ground cloves to the filling for an extra layer of cozy warmth.
- Fruit Mix: For a change, I blend sliced pears or berries with the apples — it brightens the flavor and adds color.
- Ice Cream Flavors: While classic vanilla is my go-to, I’ve served this with caramel, cinnamon, or even salted butter pecan ice cream for a tasty twist.
How to Make Apple Pie à la Mode (Apple Pie with Ice Cream) Recipe
Step 1: Crafting the Flaky Crust
Start by mixing the all-purpose flour, granulated sugar, and salt in a large bowl. When I first tried this, I underestimated the importance of cold butter, but cutting it into cubes straight from the fridge makes a huge difference. Add the cold butter to your flour mixture and use your fingers to pinch the butter with the flour, aiming for about half the pieces to be tiny and half medium-sized chunks. This texture is what gives the crust its signature flakiness — you want to stop before it turns into a fine crumb. Then, slowly add the cold water, kneading just enough to bring the dough together without overworking it (over-kneading = tough crust, and nobody wants that!). Wrap it in plastic and let it chill in the fridge for at least 30 minutes or up to two days.
Step 2: Preparing the Juicy Apple Filling
Peel, core, and slice your apples into 5mm thick slices — I like these varieties because they’re firm but not too tart. Place the slices in a saucepan along with butter, brown sugar, cinnamon, cornstarch, salt, and water. Cook over medium heat until the apples soften and the liquid thickens to a honey-like consistency; as you stir, you should be able to see the bottom of the pan clearly. This step is key, so don’t rush it or you’ll end up with a watery filling. Let the mixture cool completely before moving on — trust me, hotter filling can cause the crust to go soggy which we definitely want to avoid.
Step 3: Assembling with Love: The Lattice and Filling
Divide your chilled dough into thirds, setting one aside for the lattice top. Roll out the larger portion on a floured surface to about 3mm thickness, then carefully transfer it to your pie dish, gently pressing the dough into the corners. Don’t trim the edges yet. Sprinkle almond flour at the base to absorb any excess moisture — a neat trick I learned that really keeps the crust crisp. Pour the cooled apple filling over. Next, roll out the reserved dough to 2mm thickness and cut into 2cm strips for the lattice. This weaving technique might feel tricky at first, but folding alternating strips over and under creates that beautiful pattern — I remember spending ages on my first lattice, but it’s TOTALLY worth it. Trim the excess dough leaving a 1cm border, then fold it under and crimp by pressing with your fingers for a neat finish.
Step 4: Baking to Golden Perfection
Brush the lattice and crust edges carefully with an egg wash made by beating an egg with a splash of water. I always try to avoid getting it on the filling — it can brown unevenly. Sprinkle brown sugar on top for that irresistible caramelized crunch. Cover the edges with foil to prevent over-browning. Bake at 180°C (350°F) for 30 minutes, remove the foil, and then bake for another 30 until the crust is golden and the filling bubbles. This bubbling is a really good sign your pie is perfectly gooey inside. Cool the pie on a wire rack until just warm — this is the best time to eat it with a scoop of vanilla ice cream melting on top!
Pro Tips for Making Apple Pie à la Mode (Apple Pie with Ice Cream) Recipe
- Keep Butter Cold: I learned that keeping butter cubes chilled until mixing prevents melting and guarantees that flaky texture.
- Don’t Over-Knead Dough: Stop kneading as soon as dough comes together to avoid a tough, chewy crust.
- Cook Filling Until Thickened: Wait for the filling to look honey-like and less soupy — it gives you a perfect, not runny pie.
- Use Aluminum Foil Edges: Covering edges while baking stops them from burning and helps the crust brown evenly.
How to Serve Apple Pie à la Mode (Apple Pie with Ice Cream) Recipe

Garnishes
When I serve this apple pie à la mode, a big scoop of classic vanilla ice cream is my simple but favorite garnish — it melts over that warm pie, creating a dreamy blend of cream and spice. Sometimes I sprinkle a dash of cinnamon or drizzle caramel sauce on top for a little extra flair, especially when guests are coming over.
Side Dishes
I usually keep sides light so the pie can really shine — a hot cup of freshly brewed coffee or a glass of apple cider pairs beautifully. For a full meal, I love serving this with roast chicken or pork, balancing savory and sweet perfectly.
Creative Ways to Present
For special occasions, I like to serve individual mini pies or tarts with a lattice crust and a dollop of whipped cream on top, making everything look festive and personal. Another fun idea we tried was layering warm apple pie filling over a slice of pound cake or brownies with ice cream — an indulgence you won’t regret!
Make Ahead and Storage
Storing Leftovers
Leftover pie is a treat I look forward to. I wrap slices tightly in plastic wrap and keep them in the fridge. This keeps the crust from drying out and the filling fresh. I find eating it within 3-4 days is best.
Freezing
If I’m making a pie ahead of time or have leftovers, I freeze whole pies or individual slices by wrapping tightly in foil and plastic wrap. When you’re ready to eat, thaw it in the fridge overnight before reheating.
Reheating
To reheat, I pop slices in a preheated oven at 175°C (350°F) for 10-15 minutes to bring back that fresh-baked crispiness. Microwave works in a pinch but can make the crust a bit soggy, so I only use it if I’m in a hurry.
FAQs
-
Can I use frozen apples for the filling?
While fresh apples yield the best texture and flavor, you can use frozen apples if you thaw and drain them well to avoid excess moisture. You might need to cook the filling a bit longer to achieve the right thickness.
-
What’s the best way to prevent a soggy pie crust?
Sprinkling almond flour or breadcrumbs on the bottom before adding the filling helps absorb moisture. Also, make sure the apple filling is cooked and cooled before putting it in the crust.
-
Can I prepare the pie crust in advance?
Absolutely! The dough can be refrigerated for up to two days or frozen for a couple of months. Just thaw in the fridge before rolling out.
-
What ice cream flavors pair well with apple pie?
Classic vanilla is always a winner, but caramel, cinnamon, butter pecan, or even salted caramel ice cream can add wonderful complementary flavors.
-
How do I make the lattice crust look professional?
Focus on uniform strip widths and use the folding technique: lift every other strip, fold them back as you weave the cross strips over. With practice, it becomes surprisingly easy—and the beautiful result is worth the extra effort!
Final Thoughts
I absolutely love how this Apple Pie à la Mode (Apple Pie with Ice Cream) Recipe turns out every time — it’s not just a dessert, it’s a warm slice of memories with every bite. Whether it’s a holiday gathering, a weekend treat, or a way to brighten an ordinary day, this pie delivers joy and comfort like few desserts can. Give it a try, take your time with the lattice, and don’t forget that scoop of ice cream melting gracefully on top—that’s the magic touch. I promise you’ll love it as much as I do.
Print
Apple Pie à la Mode (Apple Pie with Ice Cream) Recipe
- Prep Time: 20 minutes
- Cook Time: 1 hour 20 minutes
- Total Time: 1 hour 40 minutes
- Yield: 10 portions 1x
- Category: Dessert
- Method: Baking
- Cuisine: American
Description
This classic Apple Pie à la Mode recipe features a flaky all-butter crust filled with tender, cinnamon-spiced apples and topped with a beautifully woven lattice crust. Baked to a golden perfection and served warm with a scoop of creamy vanilla ice cream, it’s the perfect comforting dessert for any occasion.
Ingredients
For the crust
- 300 g all-purpose flour
- 60 g granulated sugar
- 1 tsp salt
- 220 g unsalted butter, cold and cut into cubes
- 110 g water
For the filling
- 1 kg apples (Pink Lady, Royal Gala, or Fuji)
- 75 g unsalted butter
- 190 g brown sugar
- 1 1/4 tsp ground cinnamon
- 1 1/4 tbsp cornstarch
- 1/4 tsp salt
- 2 1/2 tbsp water
For assembling
- 5 tbsp almond flour or other finely ground nuts or breadcrumbs
For painting
- 1 egg
- 1 tbsp water
- 3 tbsp brown sugar
For serving
- Vanilla ice cream or other preferred flavor
Instructions
- Prepare the crust: In a large bowl, mix the all-purpose flour, granulated sugar, and salt. Add the cold cubed butter, mixing it into the flour mixture by pinching it with your fingers until the mixture contains roughly half tiny and half medium-sized pieces of butter. This method helps create a flaky crust. Slowly add the water and knead just until the dough comes together, ensuring not to overwork it to avoid toughness. You should still see some butter spots in the dough. Cover and refrigerate for 30 minutes or up to 2 days; it can also be frozen up to 2 months.
- Make the filling: Peel, core, and slice the apples into 5mm thick pieces. Place them in a large saucepan over medium heat with the butter, brown sugar, cinnamon, cornstarch, salt, and water. Cook while stirring until the mixture thickens to a honey-like consistency and the apples soften. Remove from heat and let cool completely.
- Assemble the pie: Separate one-third of the dough for the lattice top and refrigerate it again. Roll out the remaining dough to 3mm thickness on a lightly floured surface. Carefully transfer it to a pie plate, pressing the dough into the corners and up the sides without trimming excess yet. Sprinkle the base evenly with almond flour, then pour in the cooled apple filling.
- Prepare the lattice: Roll out the reserved one-third dough to 2mm thickness and cut strips about 2cm wide. Lay strips in one direction with a 1cm gap. Form the lattice by folding strips and weaving others over and under alternately until half the lattice is done, then rotate the pie and complete the other half.
- Finish the crust edges: Trim excess dough, leaving about 1cm extra. Fold the excess dough underneath the edge to form a thicker border and crimp the edges by pressing around your finger with the index and thumb to create decorative points all around.
- Prepare for baking: Brush the lattice and crust edges with a beaten egg mixed with water, avoiding the filling, then sprinkle with brown sugar.
- Bake the pie: Cover the edges of the pie with aluminum foil to prevent over-browning. Bake in a preheated oven at 180°C (350°F) for 30 minutes. Remove the foil and bake for an additional 30 minutes or until the crust is golden and the filling bubbles.
- Cool and serve: Place the baked pie on a wire rack and let it cool until just warm. If your pan has a removable bottom, gently separate the sides and slide the pie onto a serving dish. Serve warm with a generous scoop of vanilla ice cream.
Notes
- Use firm, sweet-tart apples such as Pink Lady, Royal Gala, or Fuji for the best flavor and texture.
- Chilling the dough ensures a flaky and tender crust; avoid overworking to prevent toughness.
- Almond flour or breadcrumbs under the filling absorb excess moisture, preventing a soggy crust bottom.
- Protecting the crust edges with foil during the first half of baking prevents burning.
- An optional lattice top adds an elegant touch and allows steam to escape during baking.
- Serve the pie slightly warm to enjoy the contrast between the hot filling and cold ice cream.
Nutrition
- Serving Size: 1 slice (approx. 1/10th of pie)
- Calories: 410 kcal
- Sugar: 28 g
- Sodium: 210 mg
- Fat: 22 g
- Saturated Fat: 13 g
- Unsaturated Fat: 8 g
- Trans Fat: 0.3 g
- Carbohydrates: 52 g
- Fiber: 3 g
- Protein: 4 g
- Cholesterol: 65 mg


Your email address will not be published. Required fields are marked *